The debate between curved and straight paths misses the point; the best walkways manipulate the experience of space, not just its appearance.
- The choice of material texture and path width directly controls the walker’s pace, creating a sense of either quick passage or leisurely exploration.
- Strategic pauses, shifts in material, and carefully aimed lighting guide the gaze, creating a “controlled reveal” that makes a small garden feel like a series of discoveries.
Recommendation: Design your path as a “perceptual journey” that choreographs movement and uses sensory cues to make your garden feel limitless.
For homeowners and landscape designers grappling with a small garden, the question of path design often boils down to a simple binary: curved or straight? The common wisdom suggests that sinuous, curving paths create an illusion of space by obscuring the destination, forcing the journey to feel longer. While there’s truth to this, focusing solely on the path’s geometry is a surface-level approach. It overlooks the more profound tools at a designer’s disposal for manipulating perception and crafting a garden that feels not just bigger, but richer and more engaging.
The true art of garden path design lies in choreographing a perceptual journey. It’s a practice that moves beyond simple lines on a plan and into the realm of sensory experience. The texture of the paving underfoot, the rhythm of light and shadow, and the deliberate creation of moments to pause—these are the elements that truly control how a person moves through and perceives a space. A path is not a static feature; it is a kinetic design element that dictates pace, directs the gaze, and transforms a simple walk into a narrative of discovery.
But if the secret isn’t just about the shape, what are the specific techniques that turn a simple walkway into a tool for spatial expansion? This guide delves into the key principles of kinetic design. We will explore how technical choices, from the unseen base layer to the carefully selected focal points, work together to create a garden that feels boundless, proving that the most effective paths guide the mind as much as they guide the feet.
This article breaks down the essential components of masterful path design, moving from foundational dimensions to the artistic touches that complete the experience. Explore the topics below to learn how each element contributes to the overall perceptual journey.
Summary: A Comprehensive Guide to Path Design That Expands Space
- How Wide Should a Main Path Be for Two People to Walk Abreast?
- Slate or Brick: Which Material Is Less Slippery When Wet?
- Steel vs Plastic Edging: Which Holds Gravel Paths in Place Longer?
- The Low-Voltage Lighting Mistake That Blinds Walkers at Night
- How to Use Pause Points to Slow Down Movement Through the Garden?
- The Base Layer Mistake That Cracks Your Walkway in One Winter
- The Raking Pattern That Keeps Gravel Smooth and Weed-Free
- How to Choose Focal Points That Don’t Clutter a Small Garden?
How Wide Should a Main Path Be for Two People to Walk Abreast?
The width of a garden path is its most fundamental characteristic, defining not just its function but the social dynamics of the space. It’s the first step in choreographing movement. A path that is too narrow forces single-file passage, turning a shared stroll into a disconnected procession. Conversely, an overly wide path in a small garden can feel like a landing strip, consuming valuable planting space and diminishing the sense of intimacy. The key is to match the width to the path’s primary purpose, creating a comfortable and intuitive flow.
For main arteries, such as the walkway to a front door or a primary patio connection, the goal is to allow for comfortable side-by-side travel. According to industry standards, most landscape design experts recommend a width of four to five feet for these primary paths. This dimension comfortably accommodates two people walking together or a parent with a stroller. As professional landscaper Robert Schucker notes, it’s wise to flare the path to an even more generous five or six feet where it meets a driveway or front stoop, creating a welcoming and gracious landing area.
Secondary paths, which might lead to a secluded corner or a vegetable patch, can be narrower. A width of 30 to 36 inches is typically sufficient for a single person, even when carrying tools or a watering can. Utility paths, meant purely for maintenance access, can be as narrow as 18 to 24 inches. By varying the width, you create a natural hierarchy that guides visitors, intuitively signaling whether a path is a main thoroughfare or a more private, exploratory route. This subtle change in scale is a powerful tool in controlling the rhythm of the perceptual journey.
Slate or Brick: Which Material Is Less Slippery When Wet?
Once the path’s dimensions are set, the choice of material introduces the critical concept of textural friction. The surface underfoot does more than just provide support; it influences pace, sound, and safety. The right material can encourage a leisurely stroll, while the wrong one can create a hazard that makes visitors hurry or hesitate. When considering materials like slate and brick, slip resistance, especially in wet conditions, is a primary safety concern that also profoundly affects the garden experience.
Natural cleft slate, with its inherently rough and uneven texture, offers superior grip when wet. Water tends to bead and run off its varied surface rather than pooling. This tactile quality provides a sense of security, encouraging a relaxed pace even after a rain shower. The solid, quiet footfall on slate contributes to a feeling of serenity, making it ideal for meditative or tranquil garden spaces. Its dark color also absorbs solar heat, creating a pleasantly warm surface for evening walks in cooler climates.
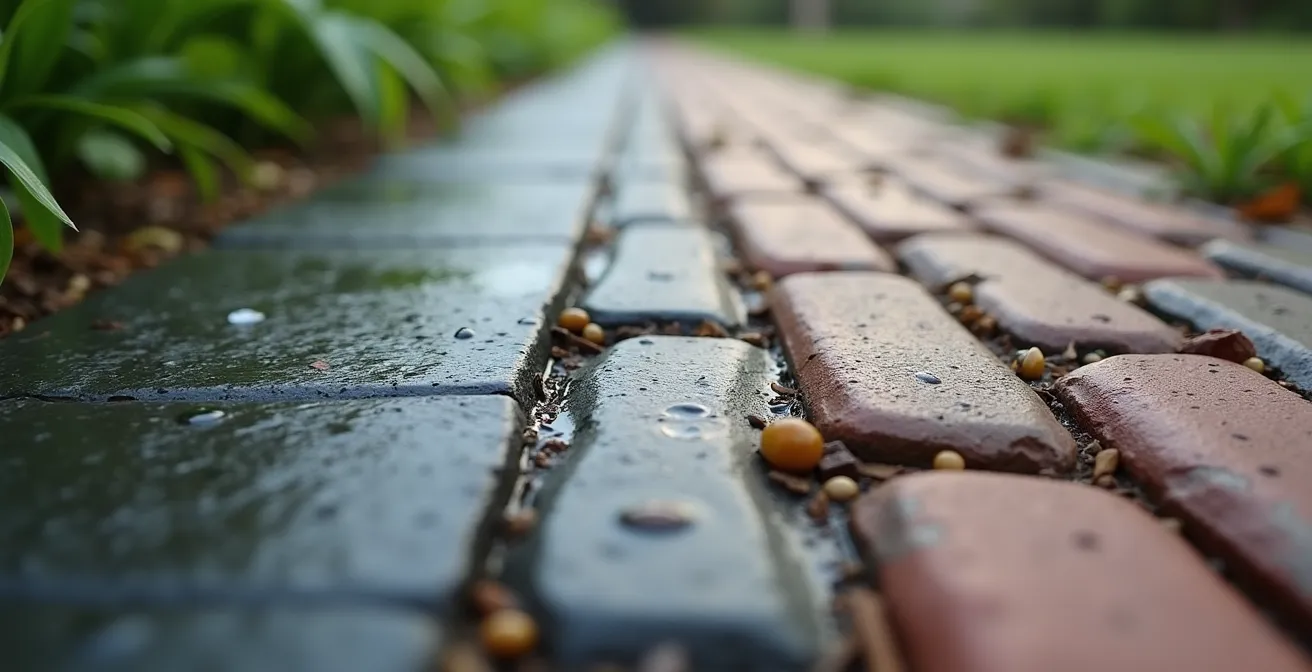
Brick, on the other hand, can become quite slippery when wet, particularly if algae or moss are allowed to grow on its smoother surface. The rhythmic, often hollower sound of footsteps on a brick path can create a more formal, structured feeling. While a classic choice, its performance in damp conditions must be considered. The choice between slate’s rugged safety and brick’s formal cadence is a perfect example of how material selection directly choreographs the user’s physical and psychological journey, as detailed in this comparative analysis from Garden Design.
| Material | Slip Resistance | Sound Properties | Thermal Properties |
|---|---|---|---|
| Natural Cleft Slate | Better grip when wet due to rough texture | Quiet, solid footfall encouraging serenity | Dark slate absorbs heat for warm evening walks |
| Brick | Can become slippery when wet | Rhythmic, hollow sound creating formality | Lighter colors stay cooler in heat |
| Gravel | Excellent drainage, non-slip surface | Satisfying crunch underfoot | Neutral temperature retention |
Steel vs Plastic Edging: Which Holds Gravel Paths in Place Longer?
A path does not exist in isolation; it is defined by its edges. Edging is the crucial element that contains the path’s material, prevents erosion of its base, and draws the “line” of the design. While often seen as a purely functional component, edging choice significantly impacts a path’s longevity and its visual integration with the surrounding garden. For loose materials like gravel, the battle between rigid steel and flexible plastic is one of both structural integrity and aesthetic intent. The question isn’t just “what holds better?” but “what serves the design’s form best?”
For long-term stability and creating crisp, clean lines, high-quality steel edging is the professional’s choice. Its rigidity is unmatched for maintaining perfectly straight formal paths and preventing the sub-base from deteriorating over time. When properly installed, it creates a nearly invisible border that allows the path and adjacent garden beds to feel seamlessly integrated. For meandering designs, certain flexible steel products can be shaped into perfect, flowing arcs, ensuring the curve of the path is smooth and intentional, not wobbly or accidental. The edging becomes part of the garden’s essential “line drawing,” defining the flow of movement.
While plastic edging is often cheaper, it lacks the rigidity and durability of steel. It can become brittle from UV exposure, heave out of the ground during freeze-thaw cycles, and struggle to contain the outward pressure of gravel, leading to a blurred, messy edge over time. For a path to maintain its form and function, the edging must be robust. A well-defined edge is what keeps a gravel path looking sharp and prevents it from becoming a maintenance headache. This is why investing in a superior material like steel is critical for the path’s long-term performance and the clarity of the overall design.
The Low-Voltage Lighting Mistake That Blinds Walkers at Night
As daylight fades, garden lighting takes over the role of choreographing the perceptual journey. Its purpose is not merely to illuminate but to guide, reveal, and conceal. The most common and jarring mistake in path lighting is the use of fixtures that create direct glare, effectively blinding the walker. When lights are positioned at eye level or aimed upwards towards the face, they destroy night vision and turn a potentially magical evening stroll into an uncomfortable and unsafe experience. The goal is to see the effect of the light, not the source.
Effective path lighting creates a rhythm of light and shadow, using pools of soft illumination to indicate the way forward. This is best achieved by directing light downwards onto the path’s surface. A technique known as “moonlighting,” where fixtures are placed high up in trees, casts soft, dappled shadows that mimic natural moonlight and feel enchanting. Another strategy is to use soft wash lights to highlight the textures of adjacent walls or the foliage of plants along the path, providing indirect illumination that guides without overwhelming.
The color of the light is just as important as its placement. To create a natural and welcoming atmosphere, landscape lighting experts recommend a warm 2700K-3000K warm-white light. This color temperature complements plant life and feels gentle on the eyes, in stark contrast to the harsh, blue-white light of higher-temperature LEDs. By combining downward-facing fixtures, indirect lighting techniques, and a warm color temperature, you create a safe and inviting nighttime journey that enhances the garden’s mystery and beauty instead of shattering it with glare.
How to Use Pause Points to Slow Down Movement Through the Garden?
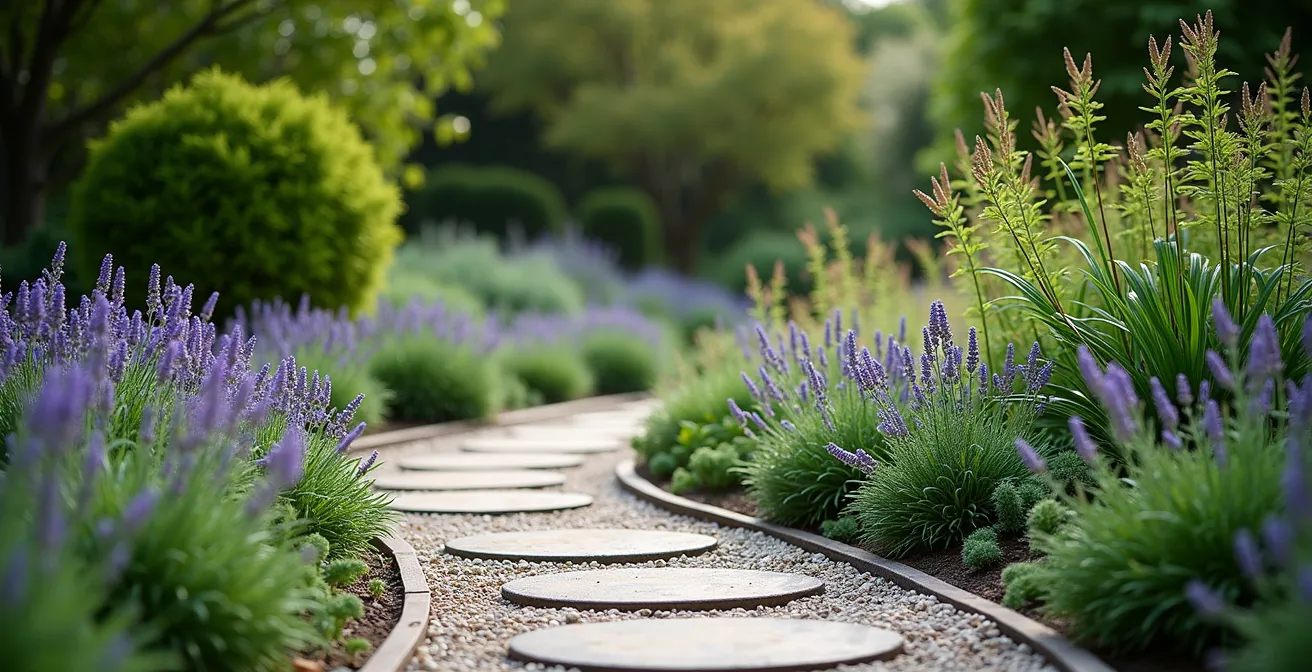
In a small garden, the fastest way to make it feel tiny is to allow the entire space to be seen in a single glance. The art of the controlled reveal is the most powerful technique for counteracting this. By creating deliberate “pause points” along a path, a designer can intentionally slow the walker’s pace and direct their gaze, transforming a short walk into a series of unfolding experiences. These pauses are not dead ends; they are moments of transition and discovery that make the garden’s narrative feel longer and more complex.
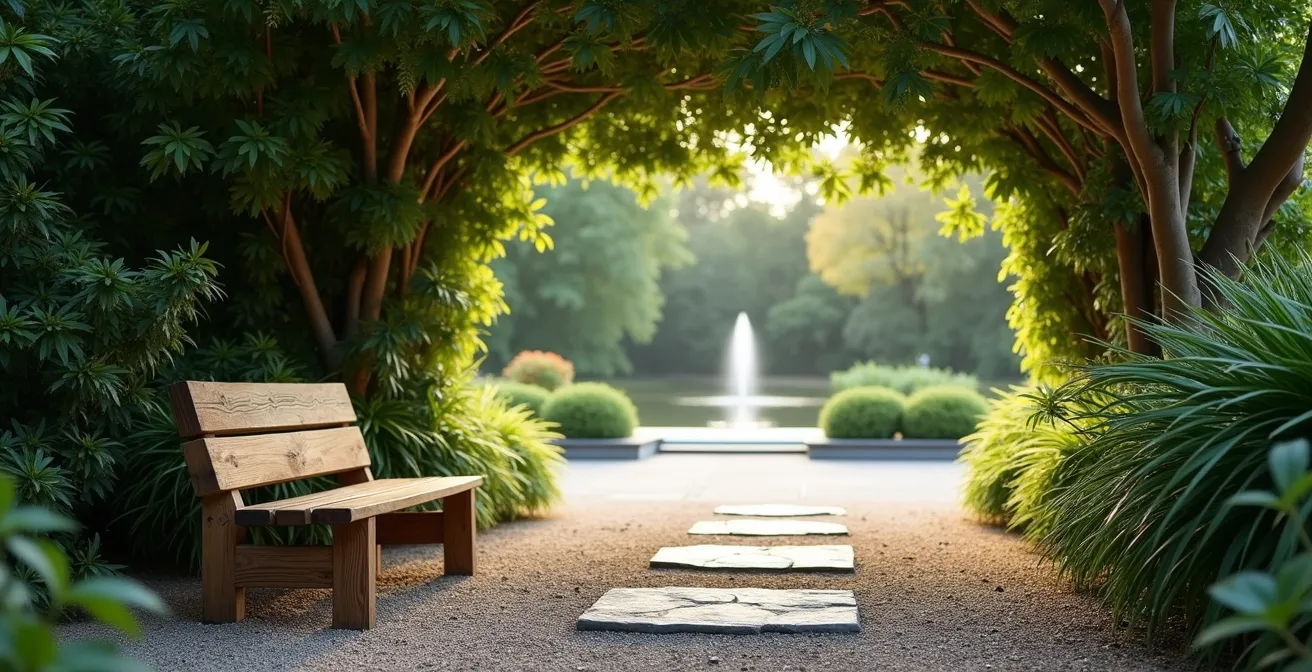
This concept is masterfully demonstrated in traditional Japanese stroll gardens, where paths often make abrupt turns or change materials precisely at a point that reveals a hidden sculpture, a perfectly framed view, or a unique specimen plant. A simple pause point can be created by widening the path slightly to accommodate a bench. This not only offers a place to rest but also positions the visitor at the ideal vantage point to appreciate a specific view that the designer has framed. The path itself can create a pause; switching from gravel to a single large flagstone forces a mental and physical stop, marking a threshold into a new “room” of the garden.
Other sensory cues can also be used to create pause points. Planting highly fragrant flowers like daphne or roses at a curve naturally invites a person to stop and inhale the scent. The gentle sound of a small water feature or wind chime, placed just out of sight around a bend, can draw a visitor to linger. By designing curves that disappear around corners and using these sensory and physical triggers, you encourage exploration and build anticipation. Each pause point becomes a chapter in the garden’s story, making the overall journey feel far more substantial than its physical length would suggest.
The Base Layer Mistake That Cracks Your Walkway in One Winter
A beautiful path is only as good as its unseen foundation. The most common and costly mistake in walkway construction is an improperly prepared base, particularly one that fails to manage water. Without adequate drainage, water becomes trapped beneath the pavers or stones. In a single winter, this trapped water will freeze, expand, and exert immense pressure, causing the path to heave, crack, and shift. This not only ruins the aesthetic but creates a dangerous tripping hazard, completely undermining the carefully planned perceptual journey.
The secret to a durable base is to build in drainage from the very beginning. Professional contractors ensure that the compacted gravel base is not perfectly flat, but instead has a subtle “crown.” By creating a 1-2% grade crown, the center of the path is imperceptibly higher than the edges. This slight slope is invisible to the eye but is highly effective at directing water away from the center and towards the sides, preventing pooling and ice formation. This is arguably the most critical step for longevity in climates with freezing temperatures.
Furthermore, the base must be separated from the subsoil below. Installing a high-quality permeable geotextile fabric before adding the gravel base is essential. This fabric prevents the native soil (especially heavy clay) from mixing with the gravel, which would compromise its drainage capacity and stability. In areas with very heavy clay soil, an even more robust solution involves installing a perforated PVC pipe within the gravel base to actively channel excess water away. A path built on a stable, well-draining foundation is a path built for life.
Action Plan: Building a Frost-Proof Path Base
- Soil Assessment: Perform a soil percolation test to determine your soil type. Heavy clay requires a deeper, more robust drainage system, while sandy soil may need more compaction for stability.
- Geotextile Installation: Lay a high-quality, permeable geotextile fabric over the excavated area to separate the native subsoil from your gravel base layer.
- Crowning the Base: Install and compact your gravel base (typically 4-6 inches deep for pedestrian paths) to create a slight 1-2% grade or “crown,” sloping from the center to the edges.
- Leveling Course: Apply and screed a 1-2 inch layer of coarse sand over the compacted gravel base. This provides a perfectly level bed for setting your final pavers or stones.
- Edge Restraint Check: Ensure your permanent edging is fully installed and secure before setting the final pavers. This locks the entire system together and prevents lateral movement.
The Raking Pattern That Keeps Gravel Smooth and Weed-Free
For a gravel path, maintenance is not a chore; it is an ongoing part of the design. The act of raking can be purely functional—smoothing footprints and removing debris—or it can be elevated to an artistic practice that enhances the path’s beauty. This concept is exemplified in Japanese Zen gardens, where the intentional raking of `samon` patterns in the gravel transforms the surface into a dynamic representation of flowing water. This approach demonstrates how maintenance can become a meditative act that reinforces the garden’s kinetic design.
From a practical standpoint, the right raking technique is also the most effective form of weed prevention. The key is to rake lightly but regularly. A weekly “skim” rake with a wide landscape rake during the growing season is far more effective than occasional deep tilling. This light action smooths the surface and, more importantly, uproots tiny weed seedlings before they have a chance to establish a root system. This prevents the need for herbicides and minimizes soil disturbance, which can bring dormant weed seeds to the surface.
The direction of your raking pattern should follow the form of the path. For straight paths, raking lines parallel to the direction of travel emphasizes the sense of length and formality. For curved, meandering paths, the raking lines should follow the curves, accentuating the graceful flow of the design. Special attention should be paid to the edges where gravel meets plantings, keeping the line crisp and preventing the gravel from migrating into the beds. Through this regular, mindful practice, the gravel path remains a clean, stable, and beautiful element of the perceptual journey.
Key Takeaways
- Path design’s primary goal is to choreograph a “perceptual journey” by controlling pace and gaze.
- Material texture, path width, and lighting are tools to manipulate the walker’s sensory experience and expand the feeling of space.
- Longevity and safety depend on technical details like a crowned base for drainage and non-slip surfaces.
How to Choose Focal Points That Don’t Clutter a Small Garden?
A focal point is the destination of the gaze, the reward at the end of a “controlled reveal.” In a small garden, however, the temptation to add too many points of interest—a statue here, a birdbath there, a specimen plant over there—can quickly lead to a feeling of visual clutter. A cluttered garden feels small and chaotic. The minimalist approach is far more effective: choose fewer, more impactful focal points, or better yet, borrow one from beyond your property lines.
The Japanese concept of `shakkei`, or “borrowed landscape,” is the ultimate minimalist technique. By strategically creating “windows” in your plantings or aligning a path, you can frame a view of something outside your garden—a distant church steeple, a neighbor’s mature tree, or even a dramatic cloudscape. This act of borrowing incorporates the external view into your own design, making the garden feel boundless and seamlessly connected to the wider world. The best focal point may not be an object you own, but a view you frame.
When choosing an internal focal point, consider making the path itself the star. An intricate brick pattern like a herringbone or a mosaic of pebbles can be a stunning feature that draws the eye downward and celebrates the journey itself. If you do choose an object, opt for a single, perfect specimen plant, like a Japanese Maple with sculptural branches, rather than traditional statuary. Position this focal point where a path naturally pauses or changes direction, making its discovery a deliberate event. By keeping the surrounding plantings simple and massed, you allow the focal point to have maximum impact without competing for attention, ensuring the garden feels serene and spacious, not crowded.
By thoughtfully applying these principles of the perceptual journey, any garden path can be transformed from a simple utility into an artistic element that expands, enriches, and defines the space. To put these concepts into practice, the next logical step is to begin sketching your own kinetic design.