In summary:
- Creating a professional-looking landscape on a budget is less about spending money and more about making strategic, informed decisions upfront.
- Mastering a few core design principles, like planting in odd numbers and balancing hardscape with greenery, provides the greatest visual impact.
- The sequence of operations is critical. Always complete “heavy” work like grading and patios before planting delicate features like lawns.
- Long-term value comes from prioritizing low-maintenance perennial plants as the structural backbone of your garden.
Staring at a new, empty yard can be both exciting and paralyzing. The dream of a lush, beautiful outdoor space quickly collides with the reality of a tight budget and an overwhelming number of choices. Many homeowners resort to piecemeal solutions—a few shrubs from the garden center, a random flower bed—only to end up with a disjointed look that falls short of their vision. The common advice to “draw a map” or “pick plants you like” is a start, but it misses the fundamental strategy that separates an amateur garden from a cohesive, professional design.
The secret doesn’t lie in hiring an expensive firm or buying the priciest materials. It lies in thinking like a landscape architect. It’s about understanding the “why” behind the “what”—the core principles of visual harmony, value engineering, and project sequencing. The true key isn’t just about what you plant, but about the series of critical decisions you make before a single shovel hits the dirt. This approach, a decision-first framework, empowers you to create a high-impact, high-value landscape that looks like it was designed by a pro, because you’ll be using their methods.
This guide will walk you through that professional methodology. We will explore the visual mathematics of planting, weigh the crucial first investments in hardscape versus lawn, detail the proper sequence for hiring contractors to protect your work, and reveal how to balance structure and softness for a timeless appeal. By the end, you will have a clear, actionable plan to transform your blank canvas into a personal oasis.
This article breaks down the essential decisions you need to make to build your landscape plan like a professional. The following summary outlines the key steps, from foundational design theory to the practical realities of execution.
Summary: Your Professional DIY Landscape Plan
- Why Planting in Odd Numbers Creates Instant Visual Harmony?
- Paper Sketch or App: Which Landscape Tool Is Best for Beginners?
- Lawn or Hardscape: Which Investment Adds More Value in Phase One?
- The Boundary Mistake That Could Force You to Tear Down Your Fence
- How to Schedule Contractors so They Don’t Ruin Your New Grass?
- Perennial Beds or Annual Borders: Which Appeals More to Modern Buyers?
- How to Track Shadows to Place Your Vegetable Patch Correctly?
- Hardscape vs Softscape: How to Balance Stone and Greenery in Small Yards?
Why Planting in Odd Numbers Creates Instant Visual Harmony?
One of the simplest yet most powerful principles in professional landscape design is the “rule of odds.” Our brains are wired to find pairs and create symmetry. When we see an even number of objects, we subconsciously group them into pairs, which can feel static or formal. An odd number, however, forces our eyes to move around the grouping, creating a more dynamic and natural-looking composition. This is a form of visual mathematics that generates effortless appeal. In fact, research on garden design principles shows that groups of 3, 5, or 7 plants create 46% more visual interest than even-numbered plantings.
The most effective way to apply this is by thinking in triangles. A group of three plants arranged in a triangle, rather than a straight line, immediately establishes a sense of depth and relationship between the elements. For a group of five, you can create a larger triangle with a smaller pair nestled inside it, or a staggered “W” pattern. The goal is to avoid perfect symmetry. This technique works best for specimen plants, shrubs, and ornamental grasses where individual forms are meant to be appreciated. Once you have a mass planting of more than a dozen plants, the eye stops counting individuals and perceives them as a single texture, so the rule becomes less critical.
Of course, rules are made to be broken. For very formal designs, even numbers are used intentionally to create symmetry and order. Think of two identical planters flanking a front door or a perfectly straight allée of trees lining a driveway. For a DIYer aiming for a cohesive and natural look, however, defaulting to odd numbers is the quickest way to achieve a professional-grade aesthetic.
Paper Sketch or App: Which Landscape Tool Is Best for Beginners?
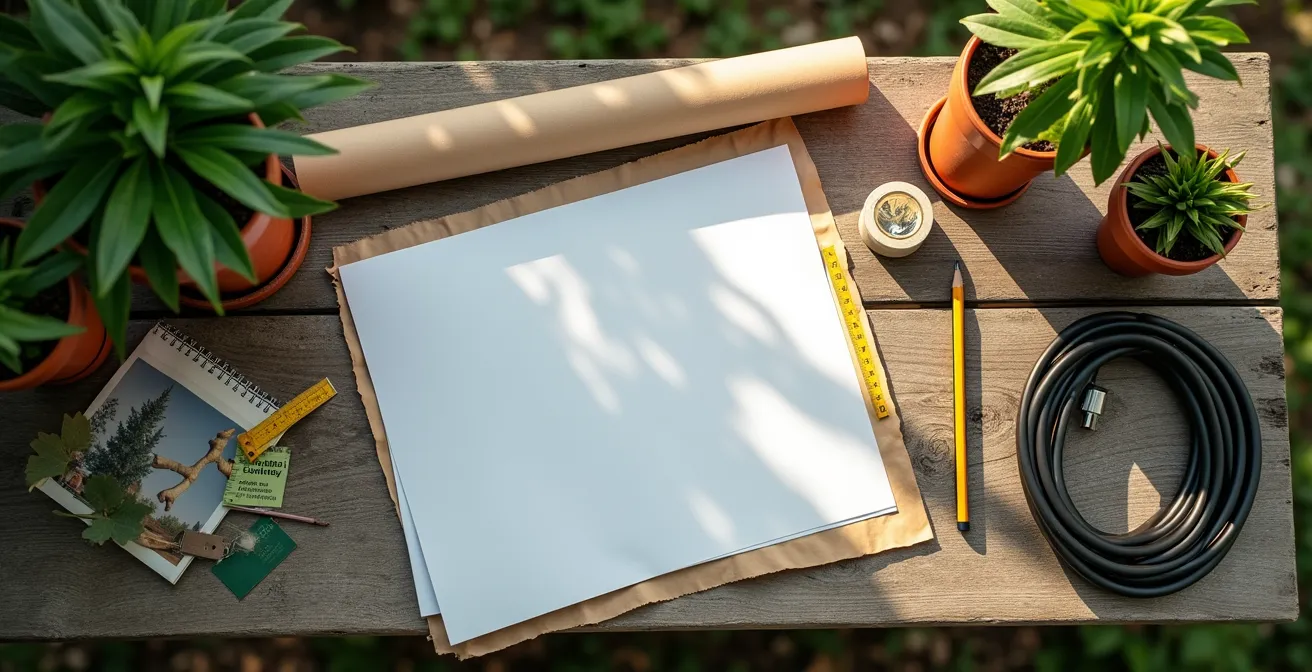
Once you have a grasp of core principles, you need to translate your vision into a concrete plan. The age-old question for the modern DIYer is whether to stick with traditional paper and pencil or embrace a digital app. The truth is, the best tool is the one that allows you to iterate freely without getting bogged down by a steep learning curve. For most beginners, a hybrid approach offers the perfect balance of creative freedom and digital precision. Start with paper—it’s intuitive, fast, and unconstrained by software limitations. Use large sheets of tracing paper over a base map of your property to sketch out broad ideas, circulation patterns, and general planting zones without worrying about perfect scale.
This initial phase is about pure brainstorming. Once you have a concept you like, you can then move to a digital tool to refine it. User-friendly apps allow you to import a satellite view of your property, draw to scale, and easily experiment with placing pre-sized objects like trees and patio furniture. This is where you can test if your dream 12-foot patio actually fits. Some advanced tools even simulate shadow patterns throughout the day. This digital step adds a layer of realism and accuracy that is difficult to achieve by hand alone. In a professional context, this hybrid method is proven to be highly effective; for instance, some studies show that integrating digital tools like Morpholio Trace can reduce design time by 40% while preserving creative flexibility.

Ultimately, don’t let the tool become a roadblock. The goal is to create a clear, scaled plan that you can work from. Whether it’s a meticulously drawn pencil sketch or a polished app-generated design, a well-documented plan is your single most important asset for staying on track and on budget.
Lawn or Hardscape: Which Investment Adds More Value in Phase One?
One of the first major budgetary decisions in any landscape plan is allocating funds between “softscape” (living elements like lawns and plants) and “hardscape” (non-living elements like patios, paths, and walls). From a pure return-on-investment perspective at resale, the answer can be surprising. While a beautiful stone patio feels like a premium upgrade, data often shows that lush, healthy turf provides a greater financial return. According to industry data, well-maintained lawns can deliver a spectacular 217% ROI, while a new patio typically returns around 95% of its cost.
However, this “value engineering” calculation goes beyond the initial ROI. You must consider the total cost of ownership over time. A hardscape patio has a high upfront cost—often between $8,000 and $15,000 for a basic installation—but its long-term maintenance is minimal, typically involving only occasional power washing. A lawn, while cheaper to install initially (around $3,000-$5,000), requires significant ongoing investment in time and money for mowing, fertilizing, weeding, and watering, which can easily add up to over $1,000 per year. Over a five-year period, the total cost of a lawn can quickly approach or even exceed the initial cost of a patio.
For a DIYer in phase one, the decision should be based on a combination of lifestyle and budget strategy. If immediate curb appeal and resale value are the top priorities, investing in a healthy lawn is a smart move. If your goal is to create a functional outdoor living area and reduce long-term maintenance, prioritizing a patio or deck as the foundational hardscape element is the more strategic choice. A great plan often finds a balance, perhaps starting with a smaller, more manageable lawn area and a modest but well-built patio.
The Boundary Mistake That Could Force You to Tear Down Your Fence
No part of a landscape plan is more critical, or more fraught with potential for expensive mistakes, than establishing your property lines. Installing a fence, planting a hedge, or building a retaining wall even a few inches onto your neighbor’s property can lead to legal disputes and court orders to tear everything down at your own expense. This isn’t just about being a good neighbor; it’s about protecting your investment. Before any ground is broken, absolute boundary verification is non-negotiable. Do not rely on old fences, assumptions, or what the previous owner told you.
Your first step is to obtain your official property survey, also known as a plat. This document, available from your county recorder’s office or the title company from your home purchase, is the legal map of your property. It shows the exact dimensions, boundary lines, and any existing easements (areas where utility companies have rights of access). Never build permanent structures within a utility easement. Once you have the plat, you can use measuring tapes and the corners of your house as fixed reference points to locate the metal survey pins that mark the corners of your property. These pins are often buried just below the soil surface.
Before you dig for fence posts or footings, it is essential to have underground utility lines marked. In the United States, you can do this for free by dialing 811 a few days before you plan to dig. This service will mark the location of gas, water, and electrical lines to prevent a dangerous and costly accident. Following a clear verification process is the ultimate form of “measure twice, cut once.”
Your Pre-Construction Boundary Verification Checklist
- Locate your property survey plat at the county recorder’s office or request it from your title company.
- Call 811 (in the US) for a free utility line marking service; be sure to schedule this 2-3 days before you plan on digging.
- Check local building codes for fence height restrictions and setback requirements from the property line.
- Review any Homeowners’ Association (HOA) covenants for restrictions on materials and styles.
- Verify the location of utility easements, which are typically 5-10 feet wide along property lines.
- Use the triangulation method with two tape measures from the corners of your house to accurately mark boundary points.
- Install temporary stakes and a string line, then show your neighbors your planned line before any permanent installation begins to ensure goodwill.
How to Schedule Contractors so They Don’t Ruin Your New Grass?
A beautiful landscape plan can be quickly destroyed by poor execution, especially when multiple contractors are involved. The most common and costly error is getting the sequence of work wrong. Having an electrician trench through your brand-new sod or a mason’s crew drive a wheelbarrow over a delicate new flower bed is a heartbreaking and entirely preventable scenario. The professional standard for project management is the LIFO (Last-In, First-Out) landscape sequence: the most delicate and easily damaged elements, like your lawn, must be installed absolutely last.
Think of your project in phases, moving from the “roughest” work to the “finest.” The correct order of operations is logical and essential for protecting your investment:
- Heavy Infrastructure: All underground work, such as drainage pipes, irrigation lines, and electrical conduits, must happen first.
- Grading and Hardscape: Next comes major earthmoving, grading, and the construction of retaining walls, patios, and walkways. This is the phase with the heaviest equipment and most soil disruption.
- Soil Preparation: Once all hardscaping is complete, you can bring in quality topsoil, amend the soil, and prepare the planting beds.
- Planting: Install plants starting with the largest and working down to the smallest: trees first, then shrubs, and finally perennials and groundcovers.
- Lawn Installation: The final step, performed only after all other work is complete and all foot traffic has ceased, is laying sod or spreading seed.
When hiring contractors, be explicit about this sequence. Furthermore, you should insist on a protective clause in your agreement to safeguard existing features. As one expert advises, this simple addition can save you thousands in repairs.
Always include a Site Protection Clause in contractor agreements: ‘Contractor agrees to protect existing landscape features and will lay plywood sheets for equipment paths. Any damage to established plantings or lawn areas will be repaired at contractor’s expense.’
– Mike Garcia, Professional Landscaper’s Handbook
Perennial Beds or Annual Borders: Which Appeals More to Modern Buyers?
When designing planting beds, a key strategic decision is the balance between perennials (plants that return year after year) and annuals (plants that last for one season). For a DIYer focused on both beauty and long-term value, this choice significantly impacts maintenance, cost, and curb appeal. While the explosive color of an annual border is tempting for instant gratification, modern real estate trends show a clear preference for sustainable, low-maintenance landscapes. In fact, recent market research indicates that 73% of modern homebuyers prefer established perennial gardens over high-maintenance annual displays.
The reason is simple: a garden built on a strong perennial backbone offers four-season structure and interest with significantly less work. Perennials like hostas, ornamental grasses, hydrangeas, and cone-flowers form the “bones” of the garden, providing texture, form, and color that evolves through the seasons and matures over time. This suggests permanence and a well-cared-for home. Annuals, while beautiful, signal yearly expense and effort, which can be a turn-off for busy buyers.
The most effective approach, often used by professional home stagers, is the 70/30 strategy. This involves designing beds with a foundation of roughly 70% structural perennials and shrubs, then using the remaining 30% for pockets of high-impact annuals. A study by a landscape staging company found that homes using this strategy sold 23 days faster and for 3% more than homes with all-annual displays. The perennials provide the year-round structure that buyers value, while the annuals act as a pop of seasonal color that can be easily and inexpensively changed out, offering the best of both worlds: long-term value and immediate curb appeal.
How to Track Shadows to Place Your Vegetable Patch Correctly?
Of all the areas in a landscape, a vegetable garden is the least forgiving of poor placement. Most fruiting vegetables, like tomatoes, peppers, and squash, are sun-worshippers that require at least 8 hours of direct, uninterrupted sunlight per day to thrive. Misjudging the sun exposure in your yard is a common mistake that leads to disappointing harvests. You cannot simply guess; you must map your sun exposure accurately across the seasons. A tree that provides welcome shade in the summer might cast a long shadow that renders your garden useless in the spring and fall when the sun is lower in the sky.
An easy and effective modern method is to use your smartphone to create a time-lapse video. By setting your phone on a tripod for a full day, you can create a fast-motion movie of how shadows move across your yard. Doing this once in early spring and again in late summer will give you a complete picture of your available sunlight. Mark the areas that receive 8+ hours of sun with stakes—these are your prime locations for a vegetable patch. Areas with 4-6 hours are suitable for partial-shade crops like lettuce, spinach, and many herbs.
Even in a yard with limited direct sun, you can use pro techniques to maximize what you have. One such method is using “borrowed light.”
After tracking shadows in my small urban yard, I discovered my sunniest spot only received 5 hours of direct light. By painting my north-facing fence white and adding reflective mulch, I increased the effective light by 30%, enough to successfully grow tomatoes in what was previously considered a shade garden. The white fence acted like a photographer’s reflector, bouncing morning light back onto the plants.
– An urban gardener
This demonstrates a core principle of resourceful design: it’s not just about what you have, but how you use it. Careful observation and clever modifications can turn a challenging site into a productive one.
Key takeaways
- The “Rule of Odds” is a simple trick to make plant groupings look more natural and professional; always aim for groups of 3, 5, or 7.
- Follow the LIFO (Last-In, First-Out) sequence for construction: heavy/underground work first, planting next, and the lawn absolutely last to prevent damage.
- For long-term value and buyer appeal, build your garden with a 70% perennial backbone for structure and use 30% annuals for seasonal color.
Hardscape vs Softscape: How to Balance Stone and Greenery in Small Yards?
The final element of a masterful design is achieving the perfect balance between hardscape (stone, wood, concrete) and softscape (plants, lawn, soil). This ratio is especially critical in small yards, where every square foot counts. Too much hardscape can make a space feel sterile, hot, and unwelcoming. Too much softscape can feel chaotic, overgrown, and high-maintenance. The goal is to create a harmonious composition where each element enhances the other—the solid, permanent quality of stone providing a beautiful contrast to the soft, changing nature of plants.
As a general guideline, many professional landscape designers recommend a ratio of approximately 30% hardscape to 70% softscape for the ideal visual balance in a typical residential yard. This ensures there is enough functional living space (patios, paths) without overwhelming the natural, green elements that make a yard feel like an oasis. In a small space, this might translate to a modest patio just large enough for a table and chairs, a slender path, and the rest of the area dedicated to lush, vertical planting beds and perhaps a small patch of lawn or groundcover.
To make a small yard feel larger, use visual tricks. Employing long, sweeping curves for bed edges and pathways can make the space feel more expansive than straight lines and right angles. Use vertical space by incorporating trellises, climbing vines, and tall, narrow plants to draw the eye upward. The key is to ensure that the hardscape serves a clear purpose and that the softscape is used to soften its edges and integrate it into the wider garden. This thoughtful balance is the final touch that elevates a simple backyard into a cohesive and visionary outdoor room.
Now that you are equipped with the core strategies of a landscape architect, you can approach your yard not as a series of chores, but as a design project. Begin today by taking that first, simple step: sketching a base map of your property. Your professional, cohesive, and beautiful landscape is closer than you think.