Contrary to popular belief, building great garden soil isn’t about adding generic “amendments,” but about becoming a soil ecologist who intentionally cultivates a thriving underground ecosystem.
- The type of organic matter you add (e.g., straw vs. wood chips) dictates whether your soil becomes dominated by bacteria or fungi, which directly impacts which plants will thrive.
- Even with perfect ingredients, the wrong soil pH will “lock out” nutrients, making them unavailable to your plants, rendering your efforts useless.
Recommendation: Start by understanding the specific biological and chemical reactions of each amendment, not just its N-P-K value, to build a resilient, self-sustaining garden substrate.
For the home gardener seeking true food independence, the dream is a plot of land that overflows with vibrant, nutrient-dense vegetables, all without a drop of synthetic fertilizer. We’re often told the secret lies in “improving the soil,” a vague directive that usually leads to tossing in a few bags of compost and hoping for the best. We hear about adding manure, peat moss, or mulch, treating the soil like an empty container to be filled.
But what if this approach is fundamentally flawed? What if the key to exceptional yields isn’t just about what you add, but *why* you add it, *when* you add it, and what it *feeds*? The truth is, your garden bed isn’t dirt; it’s a sprawling, complex, and living ecosystem. Building elite soil is less like baking a cake from a recipe and more like conducting an orchestra of billions of microscopic organisms. It requires moving beyond the role of a laborer to become a dedicated soil ecologist.
This guide abandons the generic advice. Instead, we will dissect the biochemical reactions and biological consequences of common soil amendments. We’ll explore why some “good” practices can backfire, how to choose amendments that foster specific microbial life, and how to unlock the full potential of the nutrients already present in your soil. By understanding these mechanisms, you can stop guessing and start engineering the perfect, living substrate for your edible garden.
This comprehensive guide breaks down the essential science and strategies for building a thriving soil ecosystem. Explore the sections below to master each critical component of soil engineering for your vegetable garden.
Summary: Building a Living Foundation for Your Vegetable Garden
- Why Adding Fresh Manure Can Burn Your Seedlings Instantly?
- How to Fluff Up Clay Soil to Improve Drainage for Root Vegetables?
- Compost or Worm Castings: Which Adds More Life to Your Soil?
- The Peat Moss Mistake That Harms the Environment and Your pH
- When to Amend Your Soil Before Planting: Fall vs Spring?
- Why Sending Leaves to the Landfill Is a Waste of Free Fertilizer?
- Straw vs Wood Chips: Which Mulch Feeds Fungi vs Bacteria?
- Why Ignoring Soil pH Causes Nutrient Lockout in 80% of Gardens?
Why Adding Fresh Manure Can Burn Your Seedlings Instantly?
In the world of organic gardening, manure is lauded as “black gold,” a potent source of fertility. However, applying it incorrectly is one of the fastest ways to kill young plants. The danger lies not in the manure itself, but in its raw, uncomposted state. Fresh manure, especially from poultry, is extremely high in nitrogen, primarily in the form of ammonia. This “hot” nitrogen acts like a chemical salt, drawing moisture out of plant roots and causing a literal “burn” that desiccates and kills delicate seedlings.
The science is clear: the nitrogen concentration is the primary factor. For instance, research shows that fresh chicken manure has up to 4-6% nitrogen, while fresh cow manure sits around a much lower 0.5%. This high ammonia content is volatile and damaging. As the experts at the University of Wisconsin-Madison Extension note, this potent nitrogen source requires careful handling.
Poultry manure is particularly high in ammonia and readily burns if over-applied. Because of the high amounts of ammonia-nitrogen in fresh manure, it should be incorporated 6 to 8 inches within 12 hours after application.
– University of Wisconsin-Madison Extension, Using Manure in the Home Garden
The solution is patience. Manure must be “cured” or fully composted before it comes near plant roots. This process allows aerobic bacteria to break down the volatile ammonia into stable nitrates, a form of nitrogen that plants can safely absorb. A properly composted manure pile will no longer have a strong ammonia smell and will have a dark, earthy, and crumbly texture. This transforms a potentially harmful substance into one of the best all-around amendments for your garden.
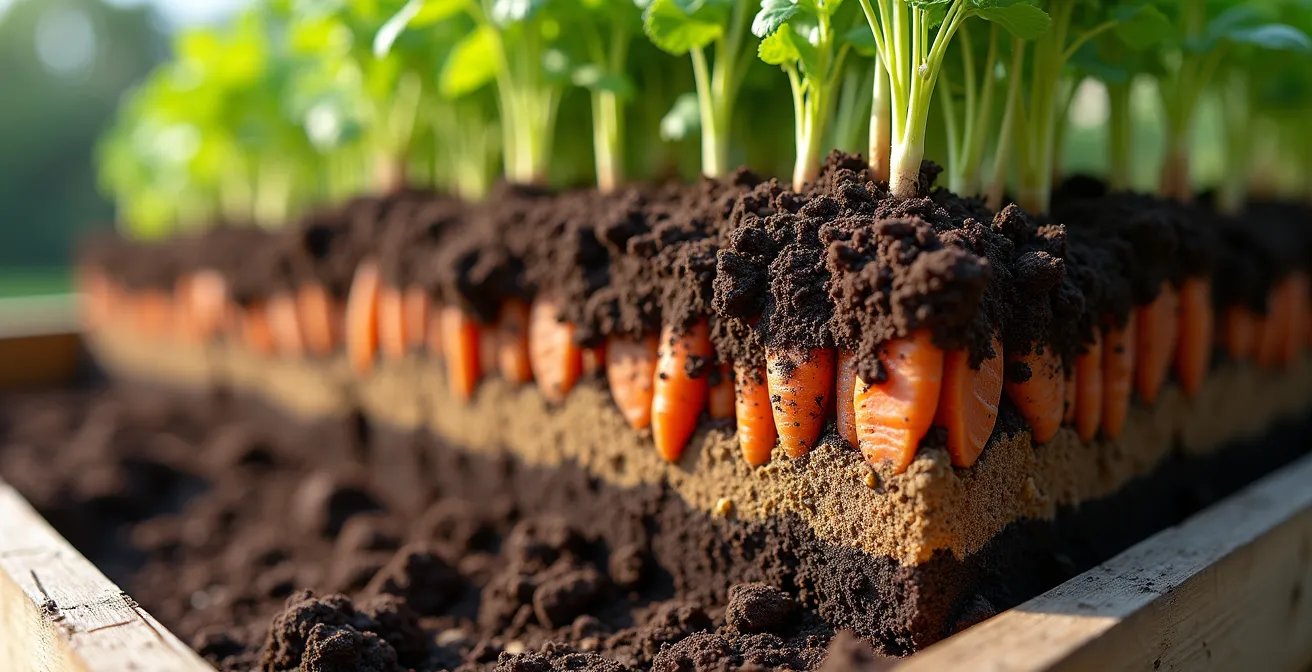
How to Fluff Up Clay Soil to Improve Drainage for Root Vegetables?
Clay soil is a paradox for gardeners. It’s incredibly rich in minerals, but its structure can be a death sentence for many vegetables, especially root crops like carrots and parsnips. The problem is physical: clay consists of tiny, flat particles that compact tightly, squeezing out air and preventing water from draining. This leads to waterlogged, anaerobic conditions where roots can’t breathe and are susceptible to rot. The goal is not to replace the clay, but to mechanically and biologically re-engineer its structure.
The most effective long-term solution involves a one-time, intensive physical intervention followed by a commitment to biological maintenance. This initial intervention physically breaks up the compacted layers, creating pathways for air and water. The illustration below shows a proven method for this task.
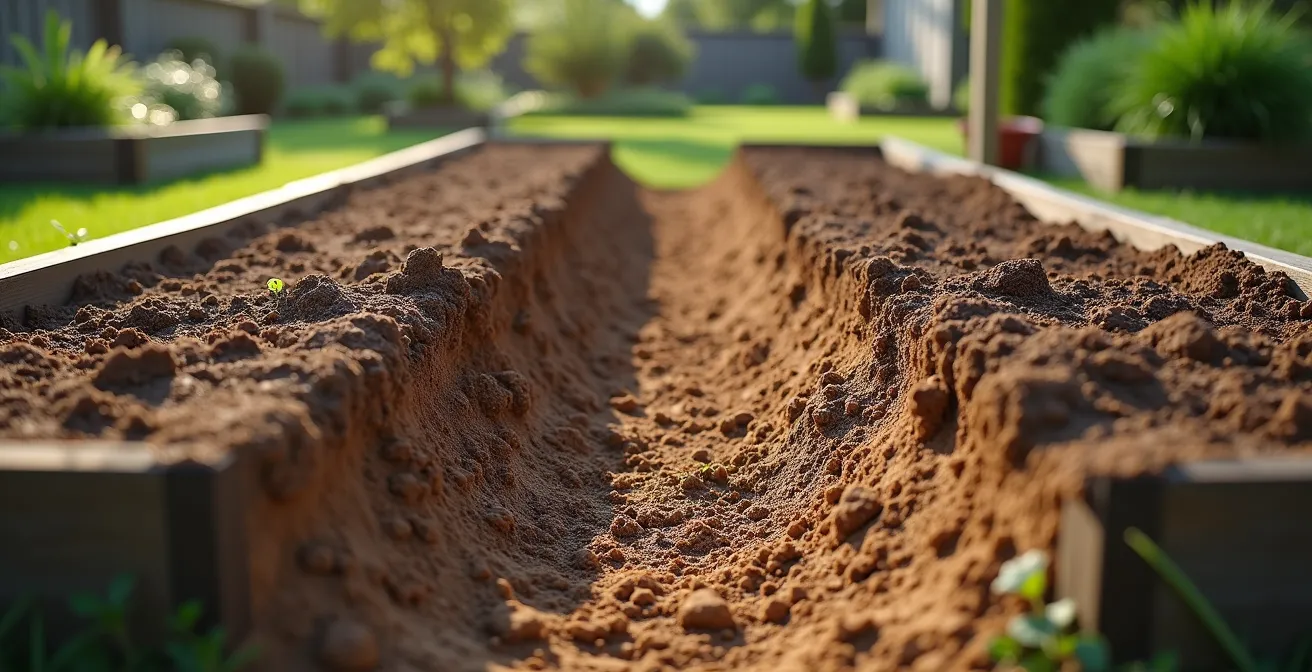
This image depicts the double-digging technique, a powerful method for permanently improving heavy clay. By loosening the subsoil without inverting the soil layers, you preserve the natural horizons while creating deep aeration. This is not about tilling; it’s a targeted structural overhaul.
Case Study: The Double-Digging Method for Breaking Up Hardpan
A technique highlighted by many experienced gardeners, the double-digging method involves a systematic approach to deep soil aeration. First, you remove the topsoil from a trench to a depth of about one foot and set it aside. Next, using a spading fork, you deeply loosen the compacted subsoil (or “hardpan”) at the bottom of the trench without removing it. This shatters the restrictive layer. The trench is then backfilled with the topsoil, often amended with generous amounts of coarse compost to prevent re-compaction. This process is repeated across the entire bed. Once done, a strict no-till approach is adopted to protect the newly established, fluffy soil structure from being destroyed again.
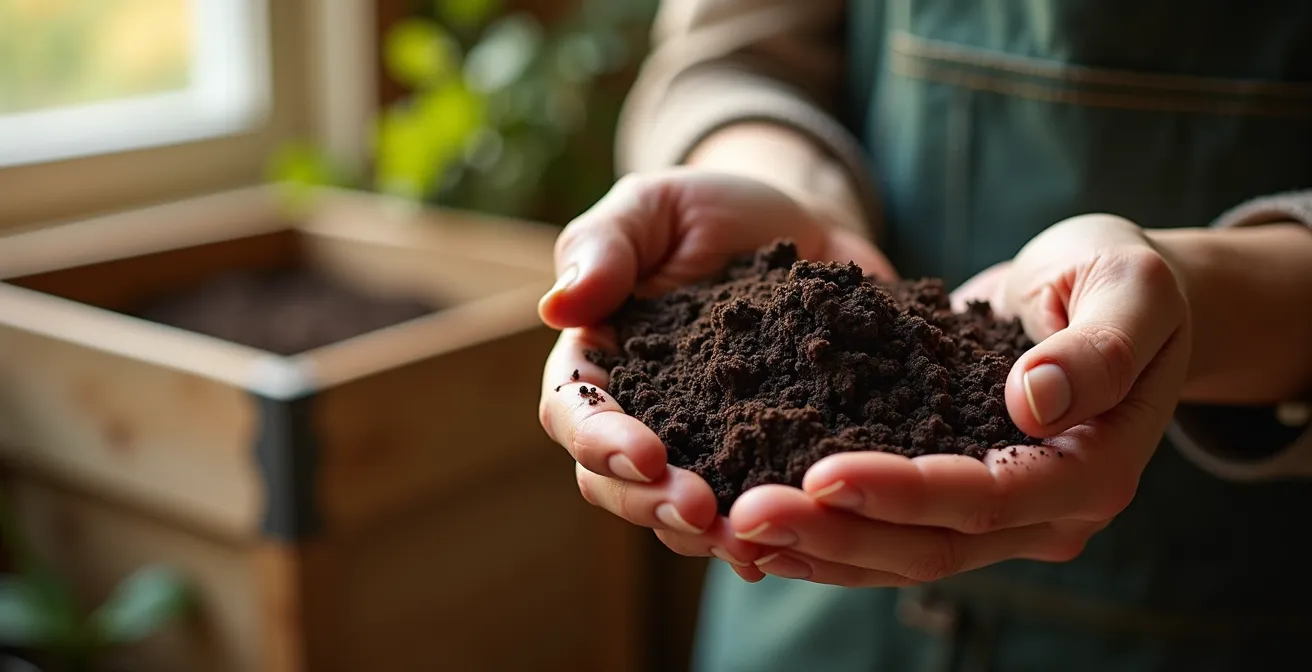
Compost or Worm Castings: Which Adds More Life to Your Soil?
Once your soil has good structure, the next step is to inoculate it with life. Both thermophilic compost and worm castings are exceptional organic amendments, but they serve fundamentally different roles. Viewing one as simply “better” than the other is a mistake; a soil ecologist understands them as two distinct tools. Compost is a bulk soil conditioner, while worm castings are a concentrated biological inoculant and biostimulant.
Compost, created through a hot decomposition process, is rich in a wide array of bacteria and organic matter. It’s perfect for improving soil structure, water retention, and providing a slow-release source of broad-spectrum nutrients. Worm castings (vermicompost), on the other hand, are the digested excrement of earthworms. This cool process produces a material with a far greater density and diversity of beneficial microbes, including protozoa and nematodes, as well as plant-growth-promoting hormones. In terms of sheer nutrient density, studies show worm castings provide significantly higher nutrients with 5x nitrogen, 7x phosphorus, and 10x potassium compared to typical topsoil.
The key difference lies in their application and function, as detailed in this comparative analysis based on insights from soil experts.
| Property | Thermophilic Compost | Worm Castings |
|---|---|---|
| Dominant Microbes | Bacteria | Diverse (bacteria, protozoa, nematodes) |
| Plant Hormones | Low | High (auxins, gibberellins) |
| Best Use | Bulk soil amendment | Targeted biostimulant |
| Application Rate | 2-4 inches annually | Small amounts in planting holes |
Therefore, the choice isn’t “either/or” but “how and when.” Use compost in large volumes to build the foundational structure and organic matter of your beds. Use worm castings in small, targeted amounts—a handful in each planting hole or as a top dressing—to give seedlings a powerful microbial and hormonal boost that stimulates root growth and enhances nutrient uptake.
The Peat Moss Mistake That Harms the Environment and Your pH
Peat moss has been a staple in horticulture for decades, prized for its ability to retain water and lighten heavy soils. However, the modern soil ecologist knows that its use comes with two significant costs: one environmental, the other chemical. Environmentally, peat is a non-renewable resource. It’s harvested from peat bogs, which are ancient, fragile ecosystems that serve as massive carbon sinks. Draining and harvesting these bogs releases vast amounts of stored carbon into the atmosphere, contributing to climate change and destroying unique habitats.
Chemically, peat moss is highly acidic, with a pH typically ranging from 3.5 to 4.5. While this is beneficial for acid-loving plants like blueberries, it can be detrimental to a vegetable garden, where most plants thrive in a slightly acidic to neutral pH of 6.0 to 7.0. Adding large quantities of peat moss without adjustment can drastically lower your soil’s pH, leading to the “nutrient lockout” we’ll discuss later. This makes essential nutrients like phosphorus and magnesium unavailable to your plants, no matter how much you’ve amended the soil.
Fortunately, sustainable and pH-neutral alternatives exist for every function that peat moss serves. Instead of relying on this outdated amendment, a savvy gardener can select a superior alternative tailored to their specific need, whether it’s water retention, aeration, or structure.
Action Plan: Sustainable Alternatives to Peat Moss
- For water retention: Use coconut coir, which has a similar texture and excellent water-holding capacity but is a renewable byproduct of the coconut industry. Alternatively, use well-aged compost, which can hold up to 90% of its weight in water.
- For aeration: Incorporate perlite, pumice, or rice hulls into your mix. These materials create stable air pockets in the soil, improving drainage and root respiration without altering pH.
- For structure: Add aged bark fines or wood fibers. These provide the same “fluffy” quality as peat, improving the tilth of heavy soils.
- For a pH-neutral option: Choose well-finished compost as your primary organic matter source. It provides structure, water retention, and a balanced nutrient profile without the acidity of peat.
- If you must use peat: Always buffer its acidity. A general rule is to add 2-3 ounces of dolomitic lime per cubic foot of peat moss to neutralize its pH before adding it to your garden beds.
When to Amend Your Soil Before Planting: Fall vs Spring?
The timing of soil amendment is as crucial as the amendment itself. While the rush of spring planting often prompts a flurry of soil prep, the most seasoned gardeners know that the real work begins in the fall. Amending soil in the autumn gives the single most valuable resource in your garden—time—for nature’s processes to work their magic. It allows the soil food web to digest, integrate, and transform raw organic materials into a rich, stable, and bio-available medium.
As the wisdom of *The Old Farmer’s Almanac* suggests, fall is a period of rest and preparation for the earth itself.
Fall is the best time to prep your soil—when the garden’s asleep and nature has time to work her magic. Compost and other organic materials have all winter to break down, feed the soil life, and mellow into a rich, workable earth by spring.
– The Old Farmer’s Almanac, How to Prepare Garden Soil for Planting
Adding amendments like compost, shredded leaves, or aged manure in the fall allows winter’s freeze-thaw cycles to help break down soil clumps. More importantly, it provides a months-long feast for bacteria, fungi, and earthworms. By spring, these raw materials are fully incorporated into the soil structure, creating a stable humus that is teeming with life and plant-ready nutrients. Spring amendments, while still beneficial, act more like a quick meal, whereas fall amendments build the soil’s long-term digestive system.
In-Situ Amendment: The Cover Crop Strategy
One of the most elegant fall amendment strategies is planting “green manure,” or cover crops. As recommended by institutions like the University of Georgia Extension, gardeners can plant crops like crimson clover, winter rye, or hairy vetch in the fall. These crops do several things over winter: their roots prevent erosion and break up compacted soil, and legumes like clover fix atmospheric nitrogen. In the spring, weeks before planting, the crops are cut down and either lightly tilled in or left on the surface as mulch (the “chop-and-drop” method). As they decompose, they release a fresh supply of organic matter and nutrients directly where the next crop will grow.
Why Sending Leaves to the Landfill Is a Waste of Free Fertilizer?
Every autumn, homeowners meticulously rake, bag, and discard one of the most valuable soil amendments available: fallen leaves. Sending these leaves to the landfill is a triple loss. It wastes a perfectly balanced, free resource; it contributes to methane production in landfills; and it robs your garden of the chance to build a superior soil structure. For the soil ecologist, fallen leaves are not waste; they are the primary ingredient for creating leaf mold, a fungal-rich super-amendment.
Unlike compost, which is bacterially driven and breaks down quickly, leaves decompose slowly through a cool, fungal process. This process creates a unique material that excels as a soil conditioner. The resulting leaf mold has a fine, crumbly texture that dramatically improves soil structure and, most impressively, its water-holding capacity. Finished leaf mold acts like a sponge, with data showing it can hold up to 500% of its weight in water, releasing it slowly to plant roots and reducing the need for irrigation.
The process of creating this “black gold” is simple: gather leaves (shredding them speeds up decomposition), moisten them, and pile them in a bin or bag. After one to two years, you are left with a priceless amendment that provides a perfect habitat for beneficial soil life.
This rich, dark material is not just a source of nutrients; it is a structural supercharger. Mixing it into your garden beds improves aeration in clay soils and water retention in sandy soils. It also provides the perfect food source for the fungal networks that are critical for perennial plants and overall soil health. To discard it is to throw away the very foundation of a resilient garden.
Straw vs Wood Chips: Which Mulch Feeds Fungi vs Bacteria?
Mulching is a non-negotiable practice for a serious gardener, but simply covering the soil is not enough. The *type* of mulch you choose actively steers the biological engine of your soil in one of two directions: towards a bacteria-dominant ecosystem or a fungi-dominant one. This choice is dictated by a simple biochemical principle: the Carbon-to-Nitrogen (C:N) ratio of the material. Understanding this allows you to match your mulch to your crops with scientific precision.
Materials with a low C:N ratio, like grass clippings or alfalfa, are high in nitrogen and break down quickly. They are consumed primarily by bacteria. A bacteria-dominant soil food web is ideal for annual plants, including most common vegetables like lettuce, tomatoes, and broccoli, which thrive on the readily available nutrients released by this rapid decomposition.
Conversely, materials with a very high C:N ratio, like wood chips or sawdust, are carbon-rich and decompose slowly. They are the preferred food source for fungi. Fungi, including the vast mycorrhizal networks, are masters at breaking down tough, woody lignin. They create a stable, fungal-dominant soil food web that is perfect for perennial plants, shrubs, and trees. These plants have evolved to partner with fungi to access nutrients over the long term.
This table, based on C:N ratio data, illustrates how different materials cultivate different microbial communities.
| Mulch Type | C:N Ratio | Decomposer Preference | Best For |
|---|---|---|---|
| Straw | 80:1 | Bacteria dominant | Annual vegetables |
| Wood Chips | 400:1+ | Fungi dominant | Perennials, fruit trees |
| Fresh Manure | 10:1 | Rapid bacterial | Not recommended fresh |
| Stable Compost | 30:1 | Balanced | All plantings |
For even greater fungal promotion, experts point to a specific type of wood. As noted in research from forestry studies, “Ramial Chipped Wood, made from small-diameter branches (<3 inches), is far superior to standard wood chips. It contains more nitrogen, minerals, and cambium, acting as a superfood for fungal networks.” So, for your vegetable garden, a straw or leaf mulch is ideal. For your orchard or berry patch, wood chips are king.
Key Takeaways
- pH is the Gatekeeper: You can add all the perfect amendments in the world, but if your soil pH is wrong, your plants will starve from nutrient lockout. A soil test is not optional; it’s fundamental.
- Mulch Directs Biology: Your choice of mulch (e.g., straw vs. wood chips) is a powerful decision that determines whether your soil ecosystem will be dominated by bacteria (for annuals) or fungi (for perennials).
- Time is an Ingredient: The best soil amendments are added in the fall, not spring. This gives the soil food web the entire winter to digest and integrate organic matter, creating stable humus by planting time.
Why Ignoring Soil pH Causes Nutrient Lockout in 80% of Gardens?
Of all the factors in soil science, pH is arguably the most critical and most frequently overlooked. It is the master variable that governs the chemistry of your soil. Soil pH is a measure of its acidity or alkalinity on a scale of 0 to 14. A pH of 7.0 is neutral. Anything below is acidic, and anything above is alkaline. Most vegetables thrive in a slightly acidic range of 6.0 to 7.0. When the pH strays too far from this optimal zone, a chemical reaction called “nutrient lockout” occurs, effectively starving your plants even in fertile soil.
Nutrient lockout happens because pH dictates the chemical form of nutrients, which in turn determines whether they are soluble and available for plants to absorb. For example, as soil testing reveals, Phosphorus is most available at pH 6.5. If the pH drops below 6.0, phosphorus gets chemically tied up with iron and aluminum, becoming unavailable. If the pH rises above 7.5, it gets locked up by calcium and magnesium. In both cases, the phosphorus is still in the soil, but your plants can’t access it. This same principle applies to other crucial nutrients like calcium, magnesium, and most micronutrients.
This is why adding fertilizer to a garden with an improper pH is like pouring gas into a car with a clogged fuel line. The fuel is present, but it can’t reach the engine. Many gardeners see yellowing leaves (a sign of deficiency) and instinctively add more fertilizer, when the real problem is a pH imbalance that a simple soil test could identify. Correcting the pH—by adding lime to raise it or sulfur to lower it—is often the only step needed to unlock the vast reserves of nutrients already present in the soil, making them available to your plants and saving you time, money, and frustration.
Engineering the perfect soil composition is a journey of understanding. It starts with building good structure, inoculating it with life, and feeding it the right diet. But all that work hinges on this final chemical key. Ensuring your soil is in the correct pH range is the single most important step to guarantee that your plants can enjoy the feast you’ve prepared for them.
Now that you grasp the intricate dance of chemistry, physics, and biology that defines a healthy soil, the path to food independence becomes clear. It is not about quick fixes, but about becoming a steward of the living ecosystem beneath your feet. The first and most critical step on this journey is to stop guessing and start measuring. Get a comprehensive soil test to understand your baseline pH and organic matter content, and you will be empowered to make decisions like a true soil scientist.