In summary:
- Most plant death comes from easily avoidable mistakes, not a lack of time.
- Reframe plant care as a quick, weekly “Health Audit” system instead of a set of random chores.
- Focus on proactive prevention: proper watering, clean leaves, and pest quarantine are the highest-impact actions.
- Mastering observation is more important than owning expensive equipment. A consistent 15-minute routine is all you need.
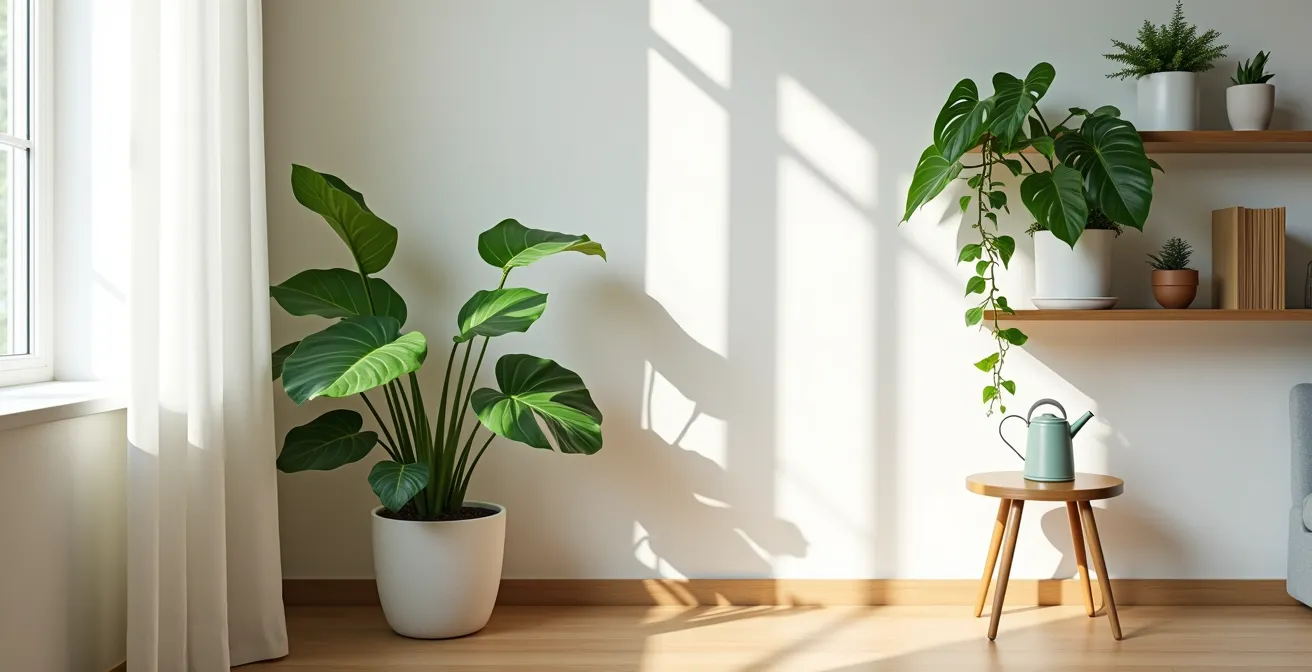
For the busy urban professional, the allure of a lush indoor jungle often crashes against the reality of a demanding schedule. You buy a beautiful plant, full of hope, only to watch it slowly wither from either neglect or inconsistent, panicked care. It’s a frustrating cycle that leaves many believing they simply don’t have a “green thumb.” The common advice to “water regularly” or “provide enough light” is too vague to be actionable when time is your most precious commodity.
The truth is, a thriving indoor garden doesn’t require hours of work. It requires a smart system. Forget the random watering and occasional frantic dusting. The key isn’t more effort; it’s more efficiency. What if the secret wasn’t about being a “plant person” but about being a good systems manager? The solution lies in shifting your mindset from reactive “chores” to a proactive, 15-minute weekly “Health Audit.”
This guide will walk you through building that exact system. We will dismantle the most common failure points—from the fatal winter watering mistake to the hygiene error that invites pests. You will learn to diagnose your plants’ needs quickly, implement high-impact solutions, and create automated support systems that work even when you’re busy. It’s time to turn your black thumb green, one efficient system at a time.
To help you navigate these efficient strategies, we’ve broken down the essential components of your new 15-minute plant care system. The following sections will guide you through each critical check in your weekly plant health audit.
Summary: Your Weekly System for a Thriving Indoor Garden
- Why Do 80% of Indoor Plants Die From Overwatering in Winter?
- How to Clean Dust Off Leaves to Boost Photosynthesis Without Damage?
- Moisture Meter vs Finger Test: Which Method Is More Reliable for Beginners?
- The Hygiene Mistake That Invites Spider Mites Into Your Home
- When to Rotate Your Pots: 3 Signs of Uneven Growth to Watch For
- How to Create a DIY Self-Watering Wick System for Under $5?
- Why Is the Temperature Near Your Window 5 Degrees Lower Than the Room?
- How to Master Indoor Horticulture Without Expensive Equipment?
Why Do 80% of Indoor Plants Die From Overwatering in Winter?
The single greatest threat to your indoor plants during winter isn’t the cold; it’s your watering can. Many plant owners maintain their summer watering schedule year-round, which proves fatal when plant metabolism slows down. In winter, shorter days and weaker sunlight signal most houseplants to enter a state of dormancy or significantly slowed growth. They simply don’t use water as quickly, and what was a perfect watering routine in July becomes a recipe for root rot in January.
This lethal mistake is so common that research confirms the number one reason for dying plants during winter months is overwatering. When soil stays soggy, it cuts off oxygen to the roots, leading them to decay. The plant can no longer absorb nutrients and, ironically, begins to show signs that look like dehydration, such as yellowing, wilting leaves, prompting the owner to water it even more.
To avoid this, you must adjust your routine to match the season. The rule of thumb is simple: water half as often and with half as much volume. If you watered a plant weekly in the summer, try every two weeks in the winter. Always check the soil first; if the top two inches are still moist, wait longer. This seasonal shift is the most critical part of your plant care system.
| Season | Watering Frequency | Plant Growth Rate | Light Levels |
|---|---|---|---|
| Summer | Daily to twice weekly | Active growth phase | High natural light |
| Winter | Weekly or less | Dormant/slow growth | Low natural light |
By adapting to your plant’s dormant state, you transition from a rigid schedule to a responsive system, ensuring your plants don’t just survive winter but are ready to thrive in spring.
How to Clean Dust Off Leaves to Boost Photosynthesis Without Damage?
A layer of household dust on plant leaves may seem like a minor aesthetic issue, but it’s a major roadblock to your plant’s health. Leaves are covered in tiny pores called stomata, which are essential for photosynthesis—the process of converting light into energy. When these are clogged with dust, the plant is effectively trying to breathe through a dirty filter. This significantly reduces its energy production, leading to weak growth and a lackluster appearance.
Houseplant care experts confirm that dust prevents light from reaching plant leaves and their photosynthetic cells. Making leaf cleaning a part of your 15-minute weekly audit is a high-impact task that pays immediate dividends in plant vitality. The goal is to be thorough but gentle. For large, smooth-leaved plants like Monsteras or Fiddle Leaf Figs, a soft, damp microfiber cloth or glove is ideal. Always support the leaf from underneath with one hand while gently wiping the top surface with the other to prevent tearing.
For plants with delicate or fuzzy leaves, such as African Violets, using a cloth can cause damage. Instead, a soft-bristled makeup brush or a small paintbrush is the perfect tool to gently whisk away dust without harming the foliage. This two-minute “foliage freshen-up” routine, performed every other week, ensures your plants can absorb the maximum amount of available light, which is especially crucial during the darker winter months.
This simple act of hygiene is one of the most effective ways to boost your plant’s health and appearance, making it a non-negotiable step in your efficient care system.
Moisture Meter vs Finger Test: Which Method Is More Reliable for Beginners?
The most common question for any new plant owner is, “How do I know when to water?” The two primary methods are the traditional “finger test” and the modern moisture meter. While the finger test—inserting your index finger two inches into the soil—is free and universally available, its reliability for a beginner is low. It takes experience to learn the subtle differences between “cool and damp” versus “soggy” or “truly dry.” This learning curve often leads to the over or underwatering that kills so many plants.
For the busy professional focused on efficiency and accuracy, the moisture meter is the superior tool. It removes the guesswork. These inexpensive devices provide instant, data-driven feedback on the moisture level at the root ball, where it matters most. Garden centers report that multi-function meters which also test light and pH can provide a more holistic and accurate picture of the plant’s environment. For a reliable reading, insert the probe about two-thirds of the way down into the root ball, not just at the surface.
A combined approach offers the best of both worlds: use the meter for a definitive reading, but also perform the finger test simultaneously. Over time, this practice calibrates your intuition, eventually training you to become an expert at judging soil moisture by feel alone. But until that expertise is built, the meter is your fail-safe.
The following table breaks down the core differences, making the choice clear for anyone starting out.
| Method | Accuracy for Beginners | Cost | Learning Curve |
|---|---|---|---|
| Moisture Meter | High – Immediate data | $10-30 | Low – Read display |
| Finger Test | Low initially | Free | High – Requires experience |
| Combined Approach | Excellent | $10-30 | Medium – Trains intuition |
Investing in a simple moisture meter is a small price to pay to eliminate the number one cause of houseplant failure and build a truly reliable care system.
The Hygiene Mistake That Invites Spider Mites Into Your Home
One of the most devastating pest infestations—spider mites—often enters your home not through an open window, but as a stowaway on a new plant. The biggest hygiene mistake a plant owner can make is immediately introducing a new plant to their existing collection. This is like letting a new student into a classroom without a health check; if they’re carrying a bug, the entire room can get sick. Spider mites are tiny, difficult to spot initially, and can spread rapidly, wreaking havoc on your indoor jungle.
The solution is a non-negotiable part of a systemized plant care routine: the quarantine protocol. Every new plant, no matter how healthy it looks at the store, must be isolated in a separate room for at least one to two weeks. During this period, conduct weekly inspections. Look for fine, silky webbing in the crevices between leaves and stems, and check the undersides of leaves for tiny moving specks. This isolation period gives any potential pests time to reveal themselves before they have a chance to spread.
This proactive prevention extends beyond just new plants. Reusing old pots or soil without proper sterilization is another common vector for pests and diseases. A robust hygiene system is your first and best line of defense, ensuring your collection remains healthy and pest-free. The following checklist outlines the complete onboarding protocol for any new plant joining your home.
Your New Plant Onboarding Checklist: A 5-Step Protocol
- Quarantine: Isolate any new plant in a separate room for 7-14 days upon bringing it home.
- Inspect: During quarantine, check weekly for signs of pests like insects, fine webbing, leaf holes, or sticky residue.
- Sterilize Pots: Before reusing an old pot, scrub it with a solution of diluted dish soap and vinegar to kill any lingering pathogens.
- Treat Soil: If you must reuse old potting soil, bake it on a tray at 180°F (82°C) for 30 minutes to sterilize it.
- Clean Tools: Always wipe your pruning shears or scissors with a rubbing alcohol pad between trimming different plants to prevent cross-contamination.
By treating every new plant as a potential risk until proven safe, you create a firewall that protects your entire indoor garden from pests.
When to Rotate Your Pots: 3 Signs of Uneven Growth to Watch For
Have you ever noticed your plant leaning dramatically toward the window, as if reaching for the light? This phenomenon, known as phototropism, is a plant’s natural survival instinct. While it shows the plant is actively seeking the energy it needs, it also leads to lopsided, unattractive growth if left unmanaged. Rotating your plants is a simple but crucial task that ensures all sides of the plant receive equal light exposure, promoting strong, balanced, and aesthetically pleasing growth.
The most efficient way to handle this is to make it an “efficiency trigger” in your routine: every time you water, give the pot a 90-degree quarter-turn. This simple habit, taking only a few seconds, prevents uneven development. Professional growers report that this practice not only ensures uniform foliage but also promotes a robust 360-degree root system, making the plant more stable and resilient. Beyond just leaning, there are three key signs of uneven growth to watch for during your weekly audit:
- Smaller Leaves on One Side: If new leaves on the side facing away from the light are consistently smaller than those facing the window, it’s a clear sign of an energy imbalance.
- Paler Color: The foliage on the shaded side of the plant may appear a paler green, indicating it’s not photosynthesizing as effectively.
- Bare Patches: Over time, the side of the plant starved for light may stop producing new growth altogether, resulting in bare or sparse stems.
This quick, systematic rotation is a perfect example of a low-effort, high-impact action. It transforms a lopsided plant into a full, healthy specimen and is a cornerstone of an efficient plant care system.
How to Create a DIY Self-Watering Wick System for Under $5?
For the perpetually busy professional or the frequent traveler, even a weekly watering schedule can be a challenge. A DIY self-watering wick system is an elegant, low-cost solution that provides your plants with a consistent source of moisture without the risk of overwatering. This method works on the principle of capillary action, where a porous wick draws water up from a reservoir into the soil as the plant needs it, allowing the plant to regulate its own water intake.
Creating this system is surprisingly simple and costs less than a fancy coffee. All you need is a piece of absorbent cord (like cotton rope or a strip of microfiber cloth) and a water reservoir (a glass jar or a plastic container that fits underneath your nursery pot). Simply thread one end of the wick through a drainage hole of the plant’s pot so it makes contact with the soil, and place the other end in the water reservoir below. The key is to ensure the plant’s pot is elevated above the water line, so the roots aren’t sitting in water.
The type of wick material you choose can even help you customize the system to your plant’s specific needs. Thirstier plants like ferns benefit from a highly absorbent synthetic wick, while drought-tolerant succulents do better with a natural fiber that dries out more readily. This set-it-and-forget-it system is a game-changer for maintaining plant health during busy weeks or vacations.
Choosing the right material is key to success, as this table illustrates.
| Wick Material | Best For | Water Flow Rate | Durability |
|---|---|---|---|
| Synthetic Nylon Cord | Thirsty plants (ferns) | Consistent, high | Long-lasting |
| Natural Cotton Rope | Drought-tolerant (succulents) | Moderate, allows drying | Replace yearly |
| Acrylic Yarn | General houseplants | Medium consistency | Good longevity |
By automating this crucial task, you build resilience into your plant care system, ensuring your green companions thrive even when you can’t be there.
Why Is the Temperature Near Your Window 5 Degrees Lower Than the Room?
You may keep your home heated to a comfortable 70°F (21°C) all winter, but the environment right next to your windowpanes is a different story. Glass is a poor insulator, and on a cold night, the air in the immediate vicinity of a window can be 5 to 10 degrees colder than the rest of the room. This creates a dangerous “micro-climate” for any plants placed directly against the glass. Even without touching the frosty pane, the constant exposure to this pocket of cold air can cause significant stress.
As horticultural research shows, cold penetrates windows at night, creating chilling injury to plants even in otherwise heated rooms. This damage often manifests as yellowing leaves, sudden leaf drop, or stunted growth, which can be easily misdiagnosed as a watering or nutrient issue. The same principle applies in reverse during summer, when intense sun can heat the glass and scorch leaves that are too close.
The solution is incredibly simple yet profoundly effective: create a buffer zone. Experts recommend keeping all houseplants at least 2 inches away from the window glass. This small gap is enough to create an insulating pocket of air that protects the plant from the most extreme temperature fluctuations near the pane. This “2-Inch Rule” is a zero-cost, zero-effort adjustment that dramatically reduces thermal stress on your plants, making them more resilient and healthy year-round.
By being mindful of these invisible micro-climates, you protect your plants from a hidden source of stress and add another layer of sophistication to your efficient care system.
Key takeaways
- Winter dormancy is natural; adapt your watering by cutting frequency and volume in half to prevent root rot.
- Dusting leaves with a soft cloth or brush is a critical health task, not just a cleaning chore, as it maximizes photosynthesis.
- A moisture meter removes watering guesswork for beginners, providing reliable data to build experience and prevent fatal errors.
How to Master Indoor Horticulture Without Expensive Equipment?
The indoor gardening market is flooded with expensive gadgets, from grow lights to automated misters. While these can be helpful, they are not necessary for success. The most powerful tool in your plant care arsenal is free: your power of observation. Mastering indoor horticulture is less about acquiring equipment and more about learning to read the subtle signals your plants send you every day. A consistent, focused 60-second scan during your weekly audit can tell you more than any sensor.
This diagnostic scan is the heart of your 15-minute system. Instead of just watering, you are actively looking for clues. Is the soil pulling away from the pot’s edge? It’s likely very thirsty. Are new leaves emerging? That’s a great sign of health. Are lower leaves yellowing while the rest of the plant looks fine? It might be a natural part of the plant’s life cycle, not a sign of crisis. This practice of active observation turns you from a passive owner into an engaged caretaker.
Here are the key points to check during your 60-second diagnostic scan:
- Leaf Posture: Are the leaves perky and upright, or are they drooping and sad? This is the fastest indicator of water needs.
- New Growth: Look for tiny new leaves or buds at the growth points. The presence of new growth is a primary sign of a happy, healthy plant.
- Soil Condition: Observe if the soil is pulling away from the pot’s edges (a sign of dryness) or looks dark and compacted.
- Color Patterns: Note any yellowing or browning. Is it on the tips, the edges, or the whole leaf? The pattern is a clue to the cause (e.g., brown tips often signal low humidity).
- The Finger Test: Conclude by feeling the soil moisture at a 2-inch depth to confirm your visual diagnosis.
The most important thing is to put the right plant in the right amount of light, and everything else becomes very easy
– Alan Stevens, Kansas State University Research and Extension
By building this habit of observation, you create a responsive and deeply effective plant care system that relies on your knowledge, not your wallet. Start implementing this 15-minute weekly audit today to transform your relationship with your indoor plants from one of anxiety to one of confident success.