
Choosing between nematodes and ladybugs is the wrong question; the real solution is building a resilient lawn ecosystem that manages pests for you.
- Purchased ladybugs often fly away; attracting native species with the right habitat is far more effective than releasing store-bought adults.
- Beneficial nematodes are powerful grub killers but require precise soil temperature and moisture to work, making strategic timing the critical factor for success.
Recommendation: Shift from a “product-first” to a “strategy-first” mindset. Start by observing your lawn’s specific conditions and pest life cycles to deploy the right control at the right time.
Discovering dry, brown patches in your otherwise green lawn is a dispiriting moment for any homeowner. The culprit is often the white grub, the larval stage of various scarab beetles, chewing through grassroots just below the surface. The conventional response involves chemical pesticides, a path you’re rightly hesitant to take. This leads to the world of biological controls, where two names constantly surface: beneficial nematodes and ladybugs. The immediate question seems to be, which one is the superior grub-killing force? Many articles will offer a simple comparison, treating them like two different brands of the same product.
But this framing is fundamentally flawed. If you’ve ever released a container of ladybugs only to watch them disappear by morning, you’ve experienced the limits of this thinking. The true path to a healthy, grub-resistant lawn isn’t about picking a single “silver bullet” product. It’s about adopting the mindset of an Integrated Pest Management (IPM) scout: strategic, biological, and precise. This means moving beyond a simple purchase and learning to engineer a miniature, self-regulating ecosystem in your own backyard.
This guide will deconstruct the common myths and provide a strategic framework. We will explore not just what these beneficial organisms are, but the precise conditions under which they thrive and fail. You’ll learn why habitat is more important than introduction, why timing is more critical than quantity, and how to stack different natural predators to create a multi-layered defense force. The goal is to transform your lawn from a passive victim into a resilient, living system that actively manages its own pest problems.
To navigate this strategic approach effectively, we will break down the key components of a robust biological control program. The following sections provide a clear roadmap for understanding and implementing these powerful, natural solutions in your own lawn and garden.
Table of Contents: A Strategic Guide to Biological Pest Management
- Why Your Bought Ladybugs Flew Away Immediately and How to Keep Them?
- How to Use Bacillus Thuringiensis to Target Caterpillars Without Harming Bees?
- Bluebirds or Wrens: Which Bird Eats More Garden Pests?
- The Egg Identification Mistake That leads to Killing Beneficials
- When to Apply Nematodes Based on Soil Temperature?
- Why Marigolds Actually Repel Pests From Tomatoes?
- Why Grocery Store Vinegar Won’t Kill Roots and What to Use Instead?
- DIY Insect Hotels: How to Build One That Isn’t a Death Trap?
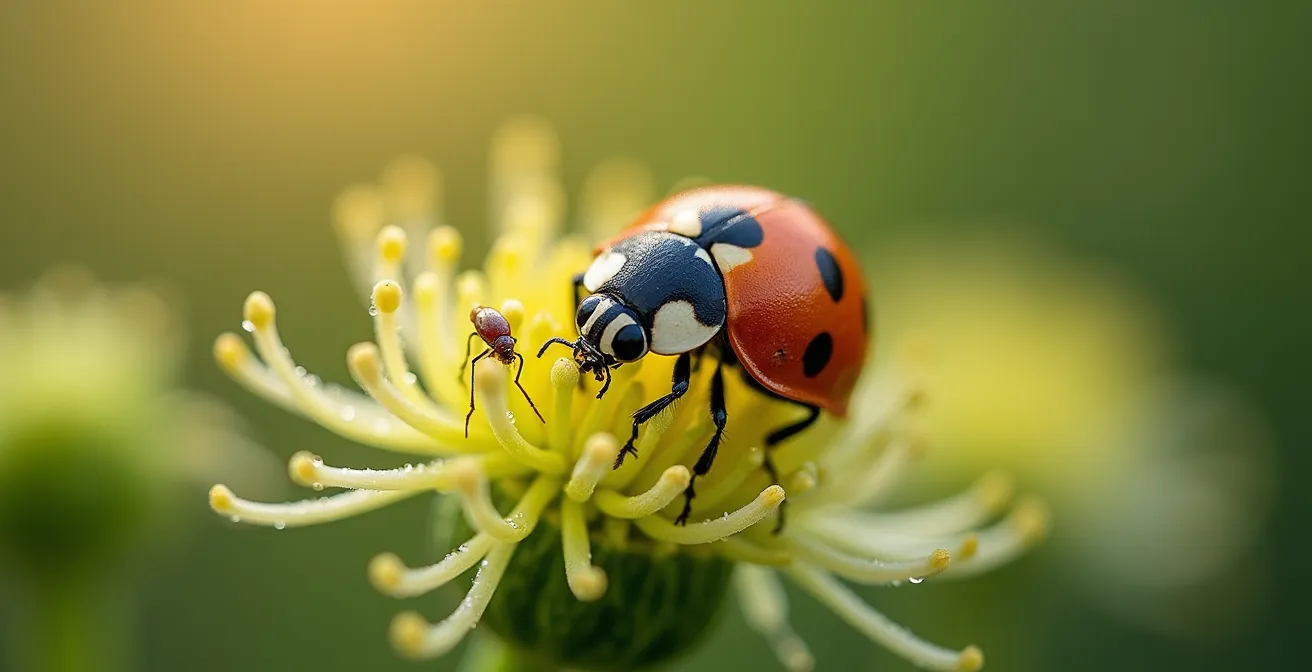
Why Your Bought Ladybugs Flew Away Immediately and How to Keep Them?
The scene is a familiar one: you purchase a container of ladybugs, release them onto your aphid-infested plants with high hopes, and the next day, they’ve vanished. This common experience isn’t a failure of the ladybugs, but a failure of strategy. Most commercially sold ladybugs are wild-harvested adults programmed to disperse. As research from Oregon State University Extension confirms, artificially-introduced adult lady beetles rarely stay around unless there is an overwhelming food supply and ideal living conditions. The key isn’t to import a temporary workforce; it’s to build a permanent, inviting home.
This concept is called habitat architecture. Instead of focusing on releasing insects, you engineer an environment that attracts and sustains native beneficial species, including local ladybugs who are already adapted to your climate. A thriving ladybug population requires three things: a steady food source (pests like aphids), a source of water, and shelter from predators and the elements. By providing these, you encourage them not only to stay but to complete their entire life cycle in your garden. The hungry larvae of ladybugs, which resemble tiny alligators, are even more voracious pest-eaters than the adults.
To achieve this, plant a diverse array of pollen-rich flowers. Umbelliferous plants like dill, fennel, and cilantro are particularly effective. Also, maintain some “decoy” plants like nasturtiums to act as a trap crop for aphids, concentrating the ladybugs’ food source. Provide a shallow dish of water with stones for safe drinking and allow low-growing groundcover like thyme to offer protection. This ecosystem-first approach yields a sustainable, self-perpetuating pest control team rather than a fleeting, purchased one.
How to Use Bacillus Thuringiensis to Target Caterpillars Without Harming Bees?
Bacillus thuringiensis, or Bt, represents the pinnacle of precision in biological pest control. Unlike broad-spectrum insecticides that kill indiscriminately, Bt is a naturally occurring soil bacterium that produces protein crystals specifically toxic to the larvae of certain insect groups. As the UC IPM Program clarifies in its guide, it is a true biological control agent. The most common strain, Bacillus thuringiensis var. kurstaki (Btk), is lethal to the caterpillar stage of moths and butterflies but is completely harmless to bees, birds, fish, and mammals, including humans and pets.
Bacillus thuringiensis or Bt, entomopathogenic nematodes, and granulosis viruses are commercially available as biological or microbial pesticides, with products containing microorganism by-products like avermectins and spinosyns not considered biological control.
– UC IPM Program, UC Statewide IPM Biological Control Guide
The key to using Bt effectively and responsibly is targeted intervention. The bacterium must be ingested by the target pest to work. This means it should be sprayed directly onto the foliage that caterpillars are eating. Once ingested, the protein crystals bind to receptors in the insect’s gut, breaking down the digestive system and causing it to stop feeding within hours. The timing and application method are therefore critical for success while minimizing any unintended impact on non-target species, like the caterpillars of desirable butterflies.
To protect pollinators and beneficials, always apply Bt in the late afternoon or evening. This avoids direct contact with active foraging bees and allows the product to dry on the leaves. Crucially, identify your pest. If you see hornworms on your tomatoes, spray the tomato plants. Avoid broad, preventative spraying, and never apply it to the host plants of butterflies you wish to protect, such as milkweed for Monarchs. By being strategic, you can eliminate a pest infestation with surgical precision.
The following table outlines the best practices for applying Bt to maximize its effectiveness on pests while ensuring the safety of beneficial insects like bees and non-target butterflies.
| Application Method | Effectiveness on Pests | Impact on Butterflies | Bee Safety |
|---|---|---|---|
| Direct leaf application (evening) | High – targets feeding caterpillars | Low if avoiding host plants | 100% safe |
| Spray during early instar stage | Enhanced effectiveness when applied during early pest infestation stages | Minimal with targeted approach | No impact |
| Broad daylight spraying | Moderate | Higher risk to all lepidoptera | Safe but less ideal timing |
Bluebirds or Wrens: Which Bird Eats More Garden Pests?
Asking whether a bluebird or a wren is a better pest controller is like asking whether a hammer or a screwdriver is a better tool—it depends on the job. These two birds exemplify the concept of predator stacking, where different species control pests in different ecological niches. Rather than competing, they provide complementary coverage, creating a more robust defense for your lawn and garden. Attracting both is a far more effective strategy than focusing on just one.
Eastern Bluebirds are primarily hunters of open, grassy areas. They perch high, scanning the ground for larger insects like grasshoppers, crickets, and, most importantly for lawn-lovers, the beetles that produce grubs. They are your aerial patrol for the open lawn. Wrens, on the other hand, are masters of the undergrowth. These energetic birds meticulously explore dense shrubs, woodpiles, and low-hanging branches, gleaning spiders, beetles, and smaller insects that bluebirds would miss. They are your ground-level and shrubbery clean-up crew.
To leverage this natural partnership, you must practice habitat diversification. To attract bluebirds, you need open lawn spaces and species-specific nest boxes with 1.5-inch entrance holes placed in open areas. To attract wrens, you need dense shrubs, brush piles for cover, and nest boxes with smaller, 1-inch holes placed near that cover. By providing both types of habitats, you effectively hire two different specialists for two different pest control zones. Adding a reliable water source, like a birdbath with shallow edges, and a dust bath area will make your property an even more desirable territory for a wide range of pest-eating birds.
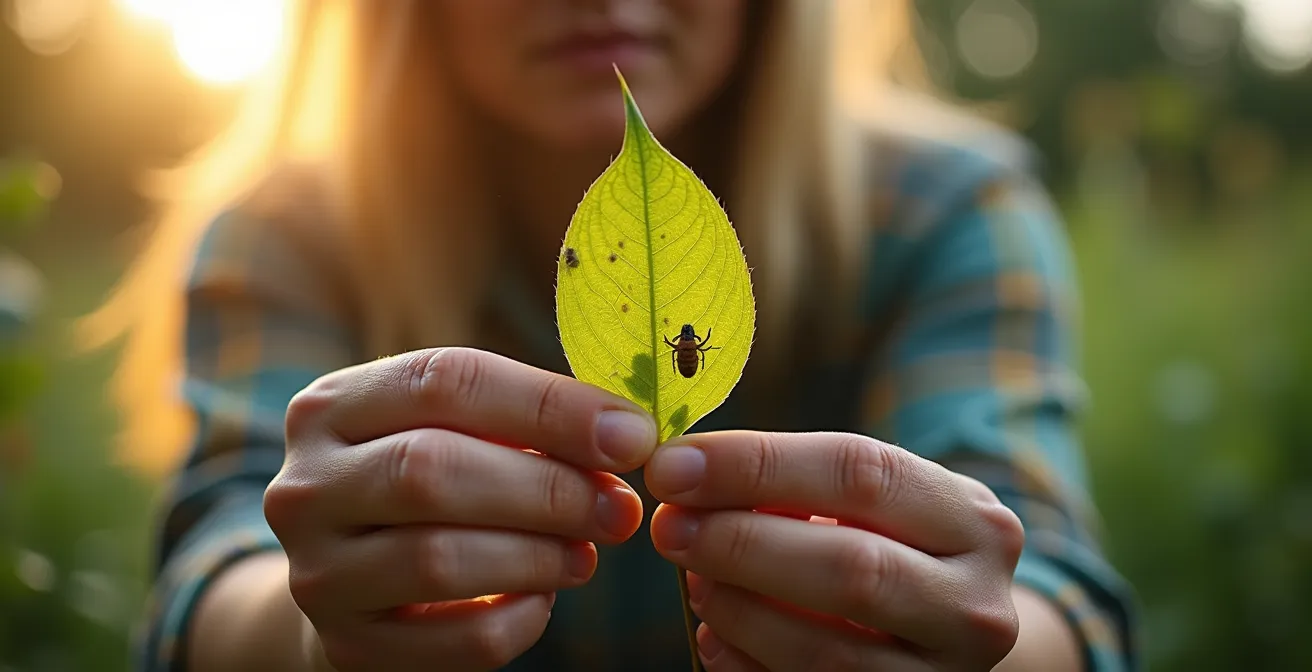
The Egg Identification Mistake That leads to Killing Beneficials
In the war against garden pests, a common and tragic mistake is misidentifying insect eggs. In a rush to destroy what we assume to be a future pest, we often eradicate the next generation of our most valuable allies. The bright yellow, spindle-shaped eggs of a ladybug are frequently mistaken for the eggs of a pest like the Colorado potato beetle. Similarly, the delicate, stalked eggs of the lacewing—a ferocious aphid predator known as the “aphid lion” in its larval stage—are often scraped off leaves and destroyed. Killing these beneficials not only removes a natural predator but can also create a vacuum that allows pest populations to explode.
The core principle of an IPM scout is observation before action. Before you crush, spray, or remove any insect eggs, it’s essential to be certain of their identity. This requires patience and a bit of detective work. Many beneficial insect eggs are laid in deliberate patterns or have unique shapes. Ladybug eggs are typically in tight clusters of 10-50, while lacewing eggs are laid individually on slender silk stalks. Learning to recognize these signatures is a critical skill for any gardener practicing biological control.
When in doubt, employ the “hatchery jar protocol.” This simple method, recommended by garden educators, prevents costly mistakes. Carefully snip the leaf with the unknown eggs and place it in a ventilated jar with a moist paper towel. Within a few days to a week, the eggs will hatch. If tiny, alligator-like larvae (ladybugs), aphid lions, or other predators emerge, you can release them back into the garden. If pest caterpillars hatch and begin to feed on the leaf, you can dispose of them with confidence. This patient approach ensures you protect your allies while precisely targeting your foes.
When to Apply Nematodes Based on Soil Temperature?
Beneficial nematodes are microscopic roundworms that hunt and kill soil-dwelling pests, making them a formidable weapon against lawn grubs. However, they are living organisms, not a chemical shelf product. Their effectiveness is almost entirely dependent on applying them under the right environmental conditions, with the single most critical factor being soil temperature. Applying them at the wrong time is the number one reason for failure and is equivalent to throwing money away. For nematodes to be active, mobile, and effective hunters, university extension research confirms the soil temperature must be between 60°F and 90°F (15°C to 32°C).
Below this range, nematodes become dormant; above it, they can die from heat stress. This makes the timing of application crucial. For grub control, the ideal window is late summer to early fall. During this period, the soil is still warm, and the new generation of grub larvae is small, vulnerable, and actively feeding near the soil surface. A well-timed fall application can significantly disrupt the grub life cycle before they can cause major damage the following spring. Studies show that under optimal conditions, beneficial nematodes can reduce grub populations by 50-75%, achieving a balance rather than total eradication.
Moisture is the second critical factor. Nematodes travel through the thin film of water between soil particles. The soil must be moist before application, and it’s best to apply them during an overcast day or in the evening to avoid UV radiation, which can kill them. After application, the lawn should be watered lightly to wash the nematodes off the grass blades and into the soil where they can begin their work. Following the correct protocol is not optional; it is the only way to ensure these powerful allies can do their job.
Action Plan: Temperature + Moisture Protocol for Nematode Application
- Measure Soil Temperature: Use a meat or compost thermometer to check the temperature 2-4 inches deep. Proceed only if it is within the 60°F-90°F (15°C-32°C) range.
- Pre-Water the Area: Water your lawn thoroughly the day before application to ensure the soil is moist.
- Apply During Low-Light Conditions: Mix nematodes with water according to package directions and apply in the early morning or evening to avoid UV exposure and high temperatures.
- Water-In Immediately: Lightly water the lawn again immediately after application to rinse the nematodes into the soil profile.
- Maintain Moisture: Keep the soil consistently moist (but not waterlogged) for two weeks after application to allow the nematodes to establish and hunt. Water every 3-4 days if there is no rain.
Why Marigolds Actually Repel Pests From Tomatoes?
Companion planting is an age-old gardening practice, but the advice to plant marigolds with tomatoes to “repel pests” is often repeated without explanation. The effectiveness of this pairing is not a myth or a matter of fragrance; it’s a specific biochemical interaction happening underground. Certain varieties, particularly French Marigolds (Tagetes patula), release a chemical compound into the soil from their roots that is toxic to root-knot nematodes, a microscopic pest that can devastate tomato plants.
This process is a form of biofumigation. The marigolds don’t just “repel” the nematodes; they actively suppress their populations in the soil. For this to be effective, the marigolds need to be established in the soil for an entire growing season. This is why research from institutions like NC State Extension validates that marigolds are suitable non-host plants for rotation with vegetables. By planting a dense block of French Marigolds in a garden bed for one season, you can significantly “cleanse” the soil of harmful nematodes before planting a susceptible crop like tomatoes in that spot the following year.
While interplanting marigolds directly alongside tomatoes in the same season can offer some limited benefit, the most powerful effect comes from using them as a cover crop. This strategic use of plants to manipulate the soil environment is a core principle of advanced organic gardening. It’s another example of how understanding the underlying biological mechanism allows you to deploy a natural solution with much greater effect. The marigold isn’t just a pretty flower; it’s a living, working part of your soil health management system.
Why Grocery Store Vinegar Won’t Kill Roots and What to Use Instead?
In the quest for non-toxic weed control, household vinegar is often touted as a “natural” herbicide. While it can certainly make the tops of weeds wither and die, it’s crucial to understand its limitation: standard 5% acetic acid vinegar is a contact herbicide, not a systemic one. This means it only burns the plant tissue it directly touches—the leaves and stems. It does not travel down to the root system. For annual weeds with shallow roots, this might be enough. But for perennial weeds with deep, established taproots (like dandelions or thistles), the plant will simply regrow from the undamaged root, often within days.
Using grocery store vinegar on persistent weeds is like mowing them; it’s a temporary cosmetic fix, not a solution. While stronger horticultural vinegars (20-30% acetic acid) exist, they are highly caustic and must be handled with extreme care, including eye and skin protection. For a truly biological and safe approach, it’s better to use methods that address the root of the problem—literally.
Effective, non-chemical root-killing methods focus on exhaustion and elimination through physical or biological means:
- Soil Solarization: During the hottest summer months, cover the soil with a clear plastic sheet. This traps solar energy, heating the soil to temperatures that kill roots, seeds, and pathogens.
- Occultation (Light Deprivation): Cover the area with opaque materials like cardboard, black plastic, or a very thick layer of mulch. By blocking all light for several months, you prevent photosynthesis, forcing the plant to exhaust its root reserves and eventually die.
- Boiling Water: For spot-treating weeds in pavement cracks or patio edges, pouring boiling water directly on the plant will cook both the top growth and the upper portion of the root, often proving fatal to smaller weeds.
- Repeated Cultivation: Persistently tilling or hoeing an area will continually chop up roots and expose them to the sun and air, preventing them from re-establishing.
These methods require more patience than spraying, but they provide a permanent solution without introducing harmful substances into your soil ecosystem.
Key Takeaways
- Shift your goal from killing pests to building a resilient ecosystem that manages them for you.
- Prioritize habitat creation for native beneficial insects over purchasing and releasing non-native species.
- Master the environmental triggers for biological controls; timing and conditions (like soil temperature for nematodes) are more important than the product itself.
DIY Insect Hotels: How to Build One That Isn’t a Death Trap?
Insect hotels have become a popular garden feature, intended to provide shelter for beneficial insects like solitary bees and ladybugs. Unfortunately, many common designs, especially large, all-in-one structures, can do more harm than good. These “bug condos” can become death traps by concentrating prey in one spot for predators, facilitating the spread of diseases and parasites, and using unsuitable materials that can injure or kill their intended residents.
The first principle of safe insect housing is to mimic natural conditions. In nature, solitary bees nest in scattered beetle burrows in dead wood, not in a massive apartment complex. As native habitat specialists observe, a collection of small, dispersed insect hotels spread throughout the garden is far safer and more effective. This reduces the risk of a predator or disease wiping out the entire population in one go. Spacing these smaller shelters at least 20 feet apart is a good rule of thumb.
The construction details are equally critical for safety.
- Material: Use untreated, natural hardwood blocks. Avoid pressure-treated or painted wood.
- Hole Design: Drill holes with smooth, sanded edges to prevent tearing delicate wings. Diameters should vary from 3-10mm to attract different species. Crucially, holes must have a solid back; a hole drilled all the way through creates a wind tunnel that bees will not use.
- Depth: Holes should be at least 4-6 inches deep to provide adequate protection.
- Placement: Position the hotel to face southeast, where it will get morning sun to warm the insects, but will be sheltered from the harshest afternoon heat and rain.
Finally, maintenance is key. Hotels should be cleaned out and have their materials (like bamboo or reeds) replaced every one to two years to prevent a buildup of parasites and fungi. A well-designed, well-maintained, and properly-sited insect hotel can be a valuable asset, but a poorly made one is a liability to the very creatures you’re trying to help.
Now that you are equipped with this strategic framework, the next step is to move from theory to practice. Begin by observing your own lawn and garden not as a problem to be solved, but as an ecosystem to be understood. Identify the pests, but also look for the predators. Note the soil conditions. This initial survey is the most critical step in crafting a personalized, effective, and truly biological pest management plan.