Successfully overwintering potted plants without a greenhouse is a matter of precise environmental control, not just finding a warm spot.
- Creating a stable, insulated environment (like a DIY box or unheated garage) that stays consistently between 35-45°F is more important than preventing cold entirely.
- Watering is the most critical risk; water only when the pot is light and the soil is nearly dry to prevent the #1 killer: root rot.
Recommendation: Treat winter storage as a logistical process with clear “shutdown” and “wake-up” protocols for maximum survival rates.
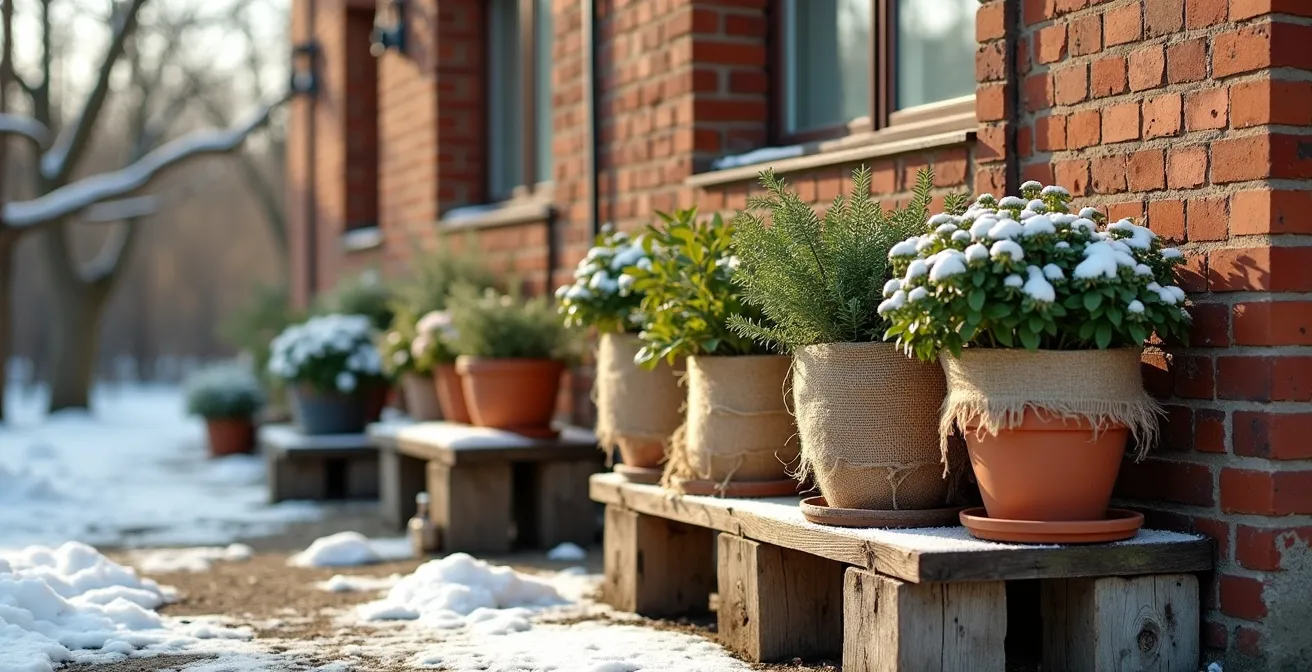
As the first frost looms, every plant collector with a cherished outdoor pot collection and limited indoor space feels a familiar anxiety. The common advice to simply “bring them inside” is unhelpful when every square foot is already accounted for. You’re left staring at your valuable hydrangeas, Japanese maples, and perennials, wondering how to protect your investment from the harsh winter ahead. Many resort to wrapping pots in burlap or clustering them against the house, but these are often partial measures that fail in a deep freeze.
The solution isn’t about finding more space; it’s about adopting a new mindset. Instead of viewing overwintering as a storage problem, we must approach it as a logistical operation. The key is not to fight the cold but to manage it. A plant’s dormancy is a natural, resource-minimal state that, when properly controlled, allows it to survive extreme conditions. The true goal is achieving environmental stability—a consistent, moderately cold, and relatively dry condition that prevents the plant from waking up too early or succumbing to rot.
This guide provides a complete logistical framework for managing winter dormancy without a greenhouse. We will move beyond generic tips to provide precise, actionable protocols. We’ll start by confirming your plant is merely sleeping, then cover the engineering of custom insulation solutions. We’ll analyze the pros and cons of different storage locations, detail the critical watering technique that prevents most winter losses, and finally, lay out a controlled wake-up schedule for spring. This is your operational manual for total winter plant protection.
To navigate this expert guide effectively, the following summary outlines the key logistical stages for ensuring your potted plants survive the winter and are ready to thrive in the spring.
Summary: The No-Greenhouse Logistics Guide for Potted Plants
- Why Does Your Plant Look Dead When It Is Just Sleeping?
- How to Build a Simple Insulated Box for Potted Perennials?
- Garage or Basement: Which Offers the Best Temperature for Dormancy?
- The Watering Mistake That Dries Out Dormant Roots Forever
- How to Gradually Introduce Light to Wake Plants in Spring?
- When to Shift Plants Away From Radiators to Prevent Heat Stress?
- When to Plant Summer Bulbs Based on Your Last Frost Date?
- When to Adjust Your Care Routine for the Fall Transition?
Why Does Your Plant Look Dead When It Is Just Sleeping?
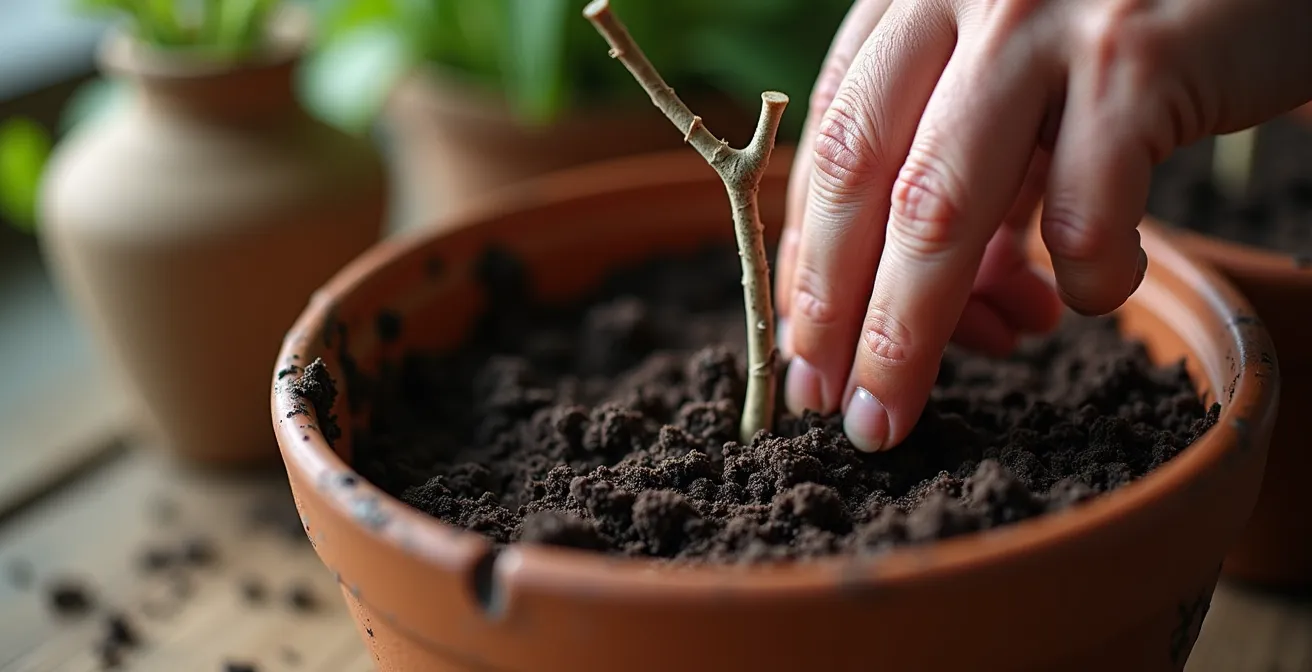
The first step in any overwintering operation is an accurate assessment: is the asset viable? A dormant perennial often looks indistinguishable from a dead one. It will have dropped its leaves, and its branches will appear brittle and lifeless. This is a natural, protective state where the plant conserves all its energy in the root system. Rushing to discard a healthy, sleeping plant is a common and costly mistake. Before you give up, you must perform a simple diagnostic health check to confirm its status.
The two most reliable field methods are the “scratch test” and the “flexibility test.” For the scratch test, use your fingernail or a clean knife to lightly scrape a tiny section of bark on a main stem. If you see a layer of moist, green cambium underneath, the plant is alive and well. Brown, dry tissue indicates that specific branch is dead, but not necessarily the entire plant. You should test several branches to be sure. In fact, multiple branches showing green cambium give you near 100% certainty that the plant is simply dormant. The flexibility test is even simpler: gently bend a small, young branch. A living branch will be supple and bend easily, while a dead one will be stiff and snap cleanly.
Finally, if the pot is not frozen, you can gently tip the plant out to inspect the roots. Healthy dormant roots are firm, light-colored (often white or tan), and may have earthy smell. Dead or rotting roots will be dark brown or black, mushy, and may have a foul odor. A plant with a healthy root system and green cambium is a prime candidate for successful overwintering.
How to Build a Simple Insulated Box for Potted Perennials?
For collectors without a garage or basement, the most effective strategy is to create a custom micro-environment. This isn’t just about covering the plant; it’s about engineering an insulated container that shields the roots from the two biggest threats: extreme cold and rapid temperature swings. The soil in a pot freezes much faster and harder than ground soil because it is exposed on all sides. Your goal is to build a buffer that mimics the insulating properties of the earth. A simple, large plastic storage bin can be transformed into a highly effective “plant bunker.”
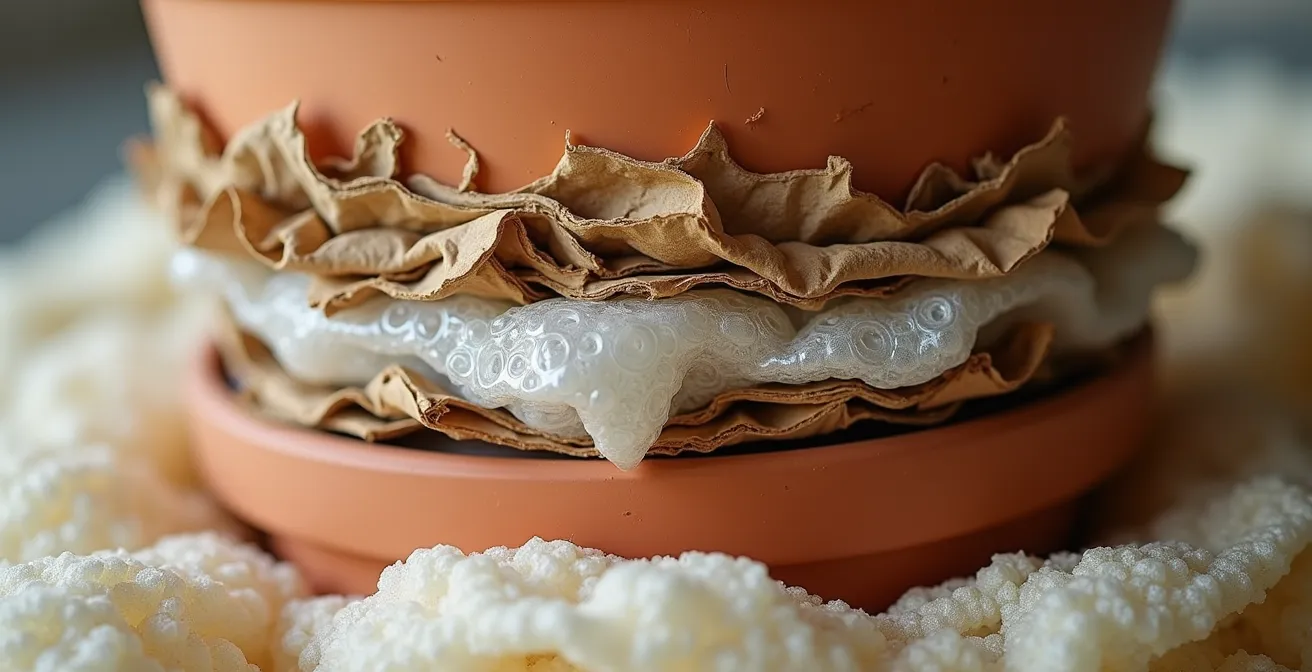
The principle is layering. Each layer traps air, which is an excellent insulator. Start by lining a large plastic or resin bin with cardboard for structure. Then, add several layers of bubble wrap to the interior sides. The most important part is filling all the empty space around the pot. You can use old blankets, crumpled newspaper, or even plastic bags stuffed with dry leaves or straw. Place the pot on a couple of bricks inside the bin to ensure good drainage and prevent it from sitting in any melted snow or water. For larger planters on a balcony that cannot be moved, gardeners have found success by creating a cylinder of chicken wire around the pot, filling it with leaves, and covering it with burlap. This creates a similar “insulation jacket.”
The most crucial step is ventilation. Never seal the container completely. A sealed box can trap moisture, leading to condensation and rot. Leave a small gap or drill a few holes near the top of the lid to allow air to circulate. This simple, no-cost insulation system provides robust protection for your plant’s sensitive root system, turning a vulnerable pot into a winter-ready fortress.
Your Action Plan: DIY No-Buy Insulation Method
- Structure: Line the interior of a large plastic bin with cardboard for structure.
- Insulation: Add at least 3 layers of bubble wrap around the sides (not the bottom) for air pocket insulation.
- Filler: Fill all gaps between the pot and the bin with old blankets, newspaper, or plastic bags stuffed with dry leaves.
- Drainage: Create drainage by placing the pot on bricks or wood blocks inside the bin, elevating it off the bottom.
- Ventilation: Leave a small ventilation gap at the top to prevent rot; never seal the container completely.
Garage or Basement: Which Offers the Best Temperature for Dormancy?
If you have access to an unheated garage, basement, or crawl space, you have a significant logistical advantage. These spaces provide a ready-made buffer against the harshest winter weather. However, they are not interchangeable. The choice between them depends on one primary factor: temperature stability. The ideal dormancy zone for most potted perennials is a consistent temperature that remains above freezing but is cold enough to prevent the plant from breaking dormancy. Temperatures should remain between 20-45°F (-6 to 7°C) for proper cold dormancy.
An unheated, attached garage is often the best option. It provides cold temperatures but is buffered by the house, preventing the deep freeze that a detached garage might experience. A basement, while more stable, is often too warm, hovering in the 45-60°F (7-15°C) range, which can confuse the plant into thinking it’s spring. Basements also tend to have higher humidity and less light, increasing the risk of mold and fungus if not monitored. A three-season porch can work but is susceptible to greater temperature swings, which is a significant risk factor.
Before committing to a location, perform reconnaissance. Place a minimum/maximum thermometer in the potential storage area for a few cold days and nights. This will give you hard data on its temperature fluctuations. Your goal is to find the location that offers the most stable environment within the ideal dormancy range. Choosing the right location is a strategic decision that dramatically increases the odds of success.
To help you make the best logistical choice for your specific situation, the following table compares the most common indoor overwintering locations. This data, based on a comparative analysis of overwintering spaces, highlights the pros and cons of each.
| Location | Ideal Temp Range | Pros | Cons |
|---|---|---|---|
| Unheated Garage | 35-45°F (2-7°C) | Easy access, some light from windows | Temperature fluctuations, dry air |
| Basement | 45-60°F (7-15°C) | Stable temperature, higher humidity | Risk of mold, limited light |
| Three-Season Porch | 30-40°F (-1-4°C) | Good natural light, easy monitoring | Greater temperature swings |
| Crawl Space | 35-50°F (2-10°C) | Very stable temperature | Difficult access, no light |
The Watering Mistake That Dries Out Dormant Roots Forever
Once your plants are in their cold, dark storage, the most dangerous phase of the operation begins: the waiting game. The single greatest mistake a plant collector can make during this period is improper watering. It’s a fine line. Too much water in cold soil creates an oxygen-deprived, or anaerobic, environment perfect for root rot, which is almost always fatal. In fact, overwatering during dormancy causes more plant deaths than all other factors combined. Conversely, too little water will allow the roots to desiccate completely, turning them into dry, brittle dust. The plant will never recover.
So, how do you know when to water? Abandon your calendar. A fixed schedule of “water once a month” is a recipe for disaster, as it doesn’t account for pot size, soil type, or ambient humidity. Instead, you must learn your plant’s language. The most reliable method is the “lift test.” When you first prepare your plant for storage, water it thoroughly and lift the pot. Memorize that weight. During the winter, check your plants monthly. Lift the pot. If it feels significantly lighter, it’s time to water. If it still has some heft, leave it alone.
When you do water, do so sparingly. The goal is not to saturate the soil but to make it slightly damp, like a wrung-out sponge. Pour a small amount of water around the base, just enough to rehydrate the soil without it becoming waterlogged. You can also use your finger to check the soil two inches down; if it feels cool and faintly damp, the plant is fine. If it’s bone-dry and crumbly, it needs a drink. Mastering this nuanced watering technique is the most important skill for successful overwintering.
How to Gradually Introduce Light to Wake Plants in Spring?
As winter wanes, the final and most delicate phase of the operation begins: the controlled wake-up protocol. You cannot simply take a plant from its dark, cold hibernation and thrust it into the bright, warm spring sun. This shock can scorch its tender new leaves and stress the entire system. The process of re-acclimatizing, or “hardening off,” must be gradual, methodical, and timed to your region’s last frost date. This is a multi-stage process that should unfold over approximately two weeks.
Begin by moving the plants from their dark storage location to a bright, cool indoor space like a garage or enclosed porch. Keep them out of direct sunlight for the first few days. This allows them to slowly adjust to increased light levels. After a few days, you can start taking them outside for short periods. Start with just two hours in a fully shaded location, then bring them back in. Gradually increase their outdoor time and introduce them to gentle morning sun over the next week. A full-day in partial shade is the next step. Only after about ten days should the plant be exposed to a full day of sun, and you should still bring it in at night if temperatures are forecast to dip near freezing.
What if a “false spring” is followed by a sudden late frost? This is a common logistical challenge. If you have already started the wake-up process, you must act quickly. Move the plants immediately back into their protected storage. A plant can be put back into a dormant state by returning it to cold, dark conditions for 48-72 hours. Do not resume the hardening-off process until the weather has stabilized for at least a week. Once temperatures are reliably above 35-40°F (2-4°C) at night, you can leave them out permanently and give them their first meal: a dose of half-strength liquid fertilizer to fuel their new growth.
Your Action Plan: 14-Day Plant Wake-Up Schedule
- Days 1-3: Move plants from dark storage to a bright, cool indoor room away from direct sun.
- Days 4-6: Place outside in full shade for 2 hours daily, then return indoors.
- Days 7-9: Extend outdoor time to 4 hours with 1-2 hours of gentle morning sun.
- Days 10-12: Leave outside all day in partial shade, bringing them in at night if frost threatens.
- Days 13-14: Keep outside day and night if temperatures stay above 35°F, and provide a first feeding with half-strength fertilizer.
When to Shift Plants Away From Radiators to Prevent Heat Stress?
While much of the overwintering focus is on plants stored in cold spaces, a different set of challenges applies to those you do manage to bring indoors. The primary threat inside a heated home is not cold, but extreme dryness and localized heat, particularly from radiators, heating vents, and fireplaces. These sources create “dry zones” with incredibly low humidity that can desiccate a plant’s leaves, causing brown, crispy edges and sudden leaf drop. The damage isn’t just from direct heat; it’s from the bubble of arid air that surrounds the heat source.
The moment you turn on your central heating for the season is the moment you need to reassess plant placement. Even if a plant seems far from a radiator, the hot, dry air it produces rises and circulates. Use your hand to feel the air around your plants. If you feel a noticeable draft of warm air, the location is unsuitable. According to expert advice on indoor microclimates, you should use a hygrometer to map out the low-humidity areas in your home. You’ll be surprised how far the “damage zone” from a radiator extends. Tropical plants that require high humidity, like Calatheas and ferns, are especially vulnerable.
To mitigate this, maintain a safe distance of at least 3-6 feet from any direct heat source. If space is tight, you must create a humid microclimate to counteract the dryness. Grouping plants together helps them share moisture. A more effective solution is placing plants on trays filled with pebbles and water. The pot sits on the pebbles above the water line, and as the water evaporates, it creates a personal cloud of humidity around the plant. Some gardeners even place large, heat-safe trays of water on or near radiators to humidify the entire area, turning a dangerous liability into a beneficial asset for their indoor collection.
When to Plant Summer Bulbs Based on Your Last Frost Date?
A true logistics expert is always planning ahead. As you manage the final stages of overwintering your perennials, you should also be initiating the first stages of the upcoming summer season. This involves summer-flowering bulbs like Dahlias, Cannas, and Caladiums. Planting these directly into cold, wet ground is a recipe for rot. The key is to give them a head start indoors, a process called “pre-sprouting,” timed precisely to your area’s last frost date.
The process begins 4-6 weeks before your average last frost date. Plant the tubers or bulbs in pots with a lightweight potting mix, leaving the top of the bulb slightly exposed. Place them in a warm, bright location indoors. This wakes them from dormancy and encourages them to start sprouting roots and shoots in a controlled, safe environment. By the time the danger of frost has passed, you will have a small, actively growing plant to transplant, rather than a dormant bulb. This gives you a significant head start on the growing season and often results in earlier, more robust blooms.
However, the most critical factor for transplanting is not the air temperature or the date on the calendar. The true signal is soil temperature. Most summer bulbs require the soil to be consistently at or above 60-65°F (15-18°C) to thrive. Use a simple meat thermometer to check the soil temperature 4-6 inches down. University extension research confirms soil temperature is a far more accurate indicator for safe planting than air temperature. Also, be aware of microclimates in your garden. A south-facing wall can warm up weeks earlier than an exposed garden bed, offering an early planting opportunity. Coordinating your pre-sprouting schedule with real-time soil temperature data is the mark of a strategic gardener.
Key Takeaways
- Dormancy is a state to be managed, not feared. Use scratch and flexibility tests to confirm a plant is alive before taking any action.
- Environmental stability is more important than warmth. The goal is a consistent 35-45°F (2-7°C) to prevent premature waking or deep freezing.
- Water is the greatest risk. Check plants monthly using the “lift test” and water only when the pot is noticeably light to prevent fatal root rot.
When to Adjust Your Care Routine for the Fall Transition?
The success of a winter dormancy operation is determined long before the first snow. It begins in late summer and early fall with a “pre-hibernation” protocol designed to prepare the plant for the stress of winter. You cannot abruptly move a plant from active growth into cold storage. You must gradually guide it into its natural dormant state. This transition management is perhaps the most overlooked, yet most crucial, phase of the entire process.
The first signal to the plant is to stop all fertilization by midsummer. Applying fertilizer, especially nitrogen-heavy formulas, encourages tender new growth that is extremely vulnerable to frost damage. You want the plant to stop producing leaves and start hardening its existing stems and storing energy in its roots. Many experts, including those at the Brooklyn Botanic Garden, recommend a “last meal” in early fall using a low-nitrogen, high-potassium fertilizer. Potassium helps strengthen the plant’s cell walls, making them more resilient to cold damage.
As the days shorten and temperatures cool, you should also begin to gradually reduce watering frequency. This mimics natural autumn conditions and signals to the plant that it’s time to slow down. Before bringing any plants inside, even to a cold garage, perform a thorough pest inspection. Look under leaves and in crevices for spider mites, scale, and other pests that can multiply rapidly in an indoor environment. Finally, resist the urge to prune in the fall. Pruning stimulates new growth, which is the last thing you want before a freeze. All major pruning should wait until early spring, just before the new growth cycle begins.
This systematic, phase-by-phase approach transforms overwintering from a game of chance into a predictable, successful logistical operation. Begin your pre-hibernation protocol now to ensure your plant investments are secure for the winter ahead and ready for a spectacular return in the spring.